I’m Copying Again

I’ve come full circle in my blogging. I started off with a blog called I’m a Copy Cat. Well, it’s been over a year of bra-making and I’d promised myself that even if I was hugely successful at bra-making, once a year I buy a good quality bra and copy it. I don’t know that I’ve been hugely successful, but I certainly can  make a bra.

So I went back to the boutique and bought one of those bras I’d tried on and treated myself.

Vivienne Fantasie

Here’s the bra I bought – but that’s not me in the picture. This is a very pretty bra, and I do like how supportive it is. It’s a Fantasie Vivienne in berry.

Once I got it home, something was bothering me a little. You know, just one of those nagging things in the back of your mind. Then I realized what it was – the underwires weren’t as big as some of the Prima Donna’s I’ve had in the past. The Prima Donna’s are really too big on me, but this one is only about a size too big.

I couldn’t figure this out. From everything I looked at in size charts, the wire should have been the same size of wire as the Prima Donna’s.

To begin, I got my stash of wires out and laid them over the bra’s channeling. I wasn’t getting a match though. This was really bothering me, so out came the seam ripper and I opened the channeling under the arm. I know how to fix it again, so I thought why not? Although I will say it was the first time I’ve ever ripped out stitches on a new bra!

I took out the wire and to my great surprise, it’s a Vertical wire! I was SO very surprised by that. I had to be sure though, so I went to Bra-Makers Supply’s web page and printed out their forms for Vertical wires. Just look under Information to Download, and it’s in that list.

Interestingly, the wire in the bra wasn’t quite a 44VW, but not a 42VW either. Just slightly bigger than the 42VW wire. When I tried the Vertical wires, I was informed that a 40VW corresponds to a 38 wire. I found the 40VW a bit small, so 42VW would be the size for me. And I find this only a tiny bit big. That means very little alterations for me!

And I’ve mentioned this before, but Vertical wires are a much better fit for women like me, dealing with what Beverly Johnson refers to in her manuals as the Omega shape. I had no idea there were bras on the market that used Vertical wires!

I also thought I’d mention a great resource, just in case you’re wanting to clone a bra. For me, it originally came from my first Threads magazines purchase. Sadly, it’s an out of print issue from Feb/March 2002 (#99). Beverly Johnson wrote an article called “Clone a Favorite Bra”. There’s a review of this article  on Pattern Review. I recommend it as well.

But don’t be discouraged that you can’t get that magazine back issue; the same information as the article is in the Bra-Makers Manual; the only big difference is the article had photos with it; the information in the manual has illustrations.

Happy creating!

An Ivory Shelley with a Custom Bridge

One shouldn’t decide to change the bra she’s making 3/4s of the way through. But I did. And I didn’t have the supplies for the change! So, a call to Bra-Makers, and a week waiting for the mail… and then some time to sew. And it’s done!

Here’s my most recent Shelley, and this one has a custom bridge, as well as some adjustments I made after my last Shelley. I used information from Norma’s book to do the bridge. This bra is in a very lovely ivory color.

IMAGE_046

This is pretty good in terms of fit. I will have to fiddle with it a bit. When I did the new bridge, it changed the size of the cradle. When I first put the wires in and tried it on, the wires were flipping outward. I knew this one from another bra I’d made – the wires were too small for the cradle. So, having tried many sizes in and around my size, I have extra wires on hand. I grabbed the next size up and no more flipping.

IMAGE_047

Here’s a close-up of the bridge. It’s still very narrow at the top, and lower too, to better fit the length of my wire. The above picture is also a better indication of the color of the bra.

IMAGE_048

Here’s the side view. It has a nice smooth fit into the cradle. I’m thinking it still may be a bit fuller on the sides than I want. However, it does fit! And the bridge is going all the way back. So the only real fitting issue I would have with this one is the wires are one size too big.

IMAGE_049

And the back. I did do what I saw in the boutique and used the same wide strap elastic at the back to connect to the straps as I was using on the straps. I was quite pleased with the look. As well, I used the same wide strap tape to join to the elastic. That was something I noticed and decided to try – all the straps were using wider strap elastic.

And finally:

IMAGE_050

And a dart. Lowering the bridge means I have to do something to make the upper cup fit into the new lower bridge. On this bra I pinned the cup starting at the underarm, and then pinned around leaving just a bit unpinned between the top of the bridge and bottom. Then I saw how much I needed to take out of the cup. I pinned it and did a dart there – which is very close to what that Prima Donna Milady looked like. The big difference between the two bras is I’m not using a foam liner in the cup.

I did like the dart and it looks quite nice on. I may try something different next time too. I had another idea of how to make the cup fit with the lower bridge – like shortening the lower edge where the upper and lower cup join. Overall, pretty good!

Happy creating!

A Little of This, A Little of That

That about describes what I’ve been up to; Doing a little of this, and a little of that.

One thing I did this week that I’m so pleased with is a re-vamping of a couple of sundresses I made last summer. When I first made them, they were so easy. I bought the material with the smocking already done. I sewed them up and added some straps and hardly wore them! So much for so easy.

Last week I was reading in Andrea’s blog: Satin Bird Designs how she had remade a dress into a Maxi skirt. And I knew right away what I wanted to do with those sundresses!

Pink Skirt

Here’s the first one. Much more versatile than a sundress. I’ve worn it twice this week already!

I didn’t do much to remake it. I counted how many lines of smocking I wanted for the waist band, and cut it off in-between those lines. It was a bit funny when I was doing that because they weren’t perfectly lined up. I was wondering if I’d been drunk when I first sewed it. Then I remember a couple of things: One, I don’t drink. And two, the top was what I’d matched up evenly. So the material may have had a defect in it.

However, as Madalynne so recently wrote on her blog quoting from Norma’s book: “The only reason to tear out top stitching is if… it looks bad from 3 feet away.” So, my issue isn’t top stitching, but taking the heart of the message – I don’t think anyone is going to come up and start examining those rows of smocking and notice they’re not straight. Mind you, some of my friends may do that now. (smile)

And here’s the second skirt, which hasn’t been washed yet so is still a little stretched out in the waist band:

Black Skirt

To finish both skirts, all I needed to do was finish that new edge I’d cut. They were already seamed from last year. I didn’t want to change the look on them, so did a lettuce-edge with a small zigzag to cover the loose edges and keep them from fringing in the wash.

I did buy a couple of pair of pants this week that I’m going to cut off and make into Capri pants. The price was just too good to pass on.

My bra is still 3/4s of the way done and sitting on the dinning room table. I decided just as I was putting on the upper band elastic that I was going to change the bra. So no fabric straps on this one – this one is going to have strap tape & strap elastic for the straps – more similar to what I saw in the boutique. I’m just waiting on an order now from Bra-Makers to finish it up. This one is with a custom bridge from Norma’s book.

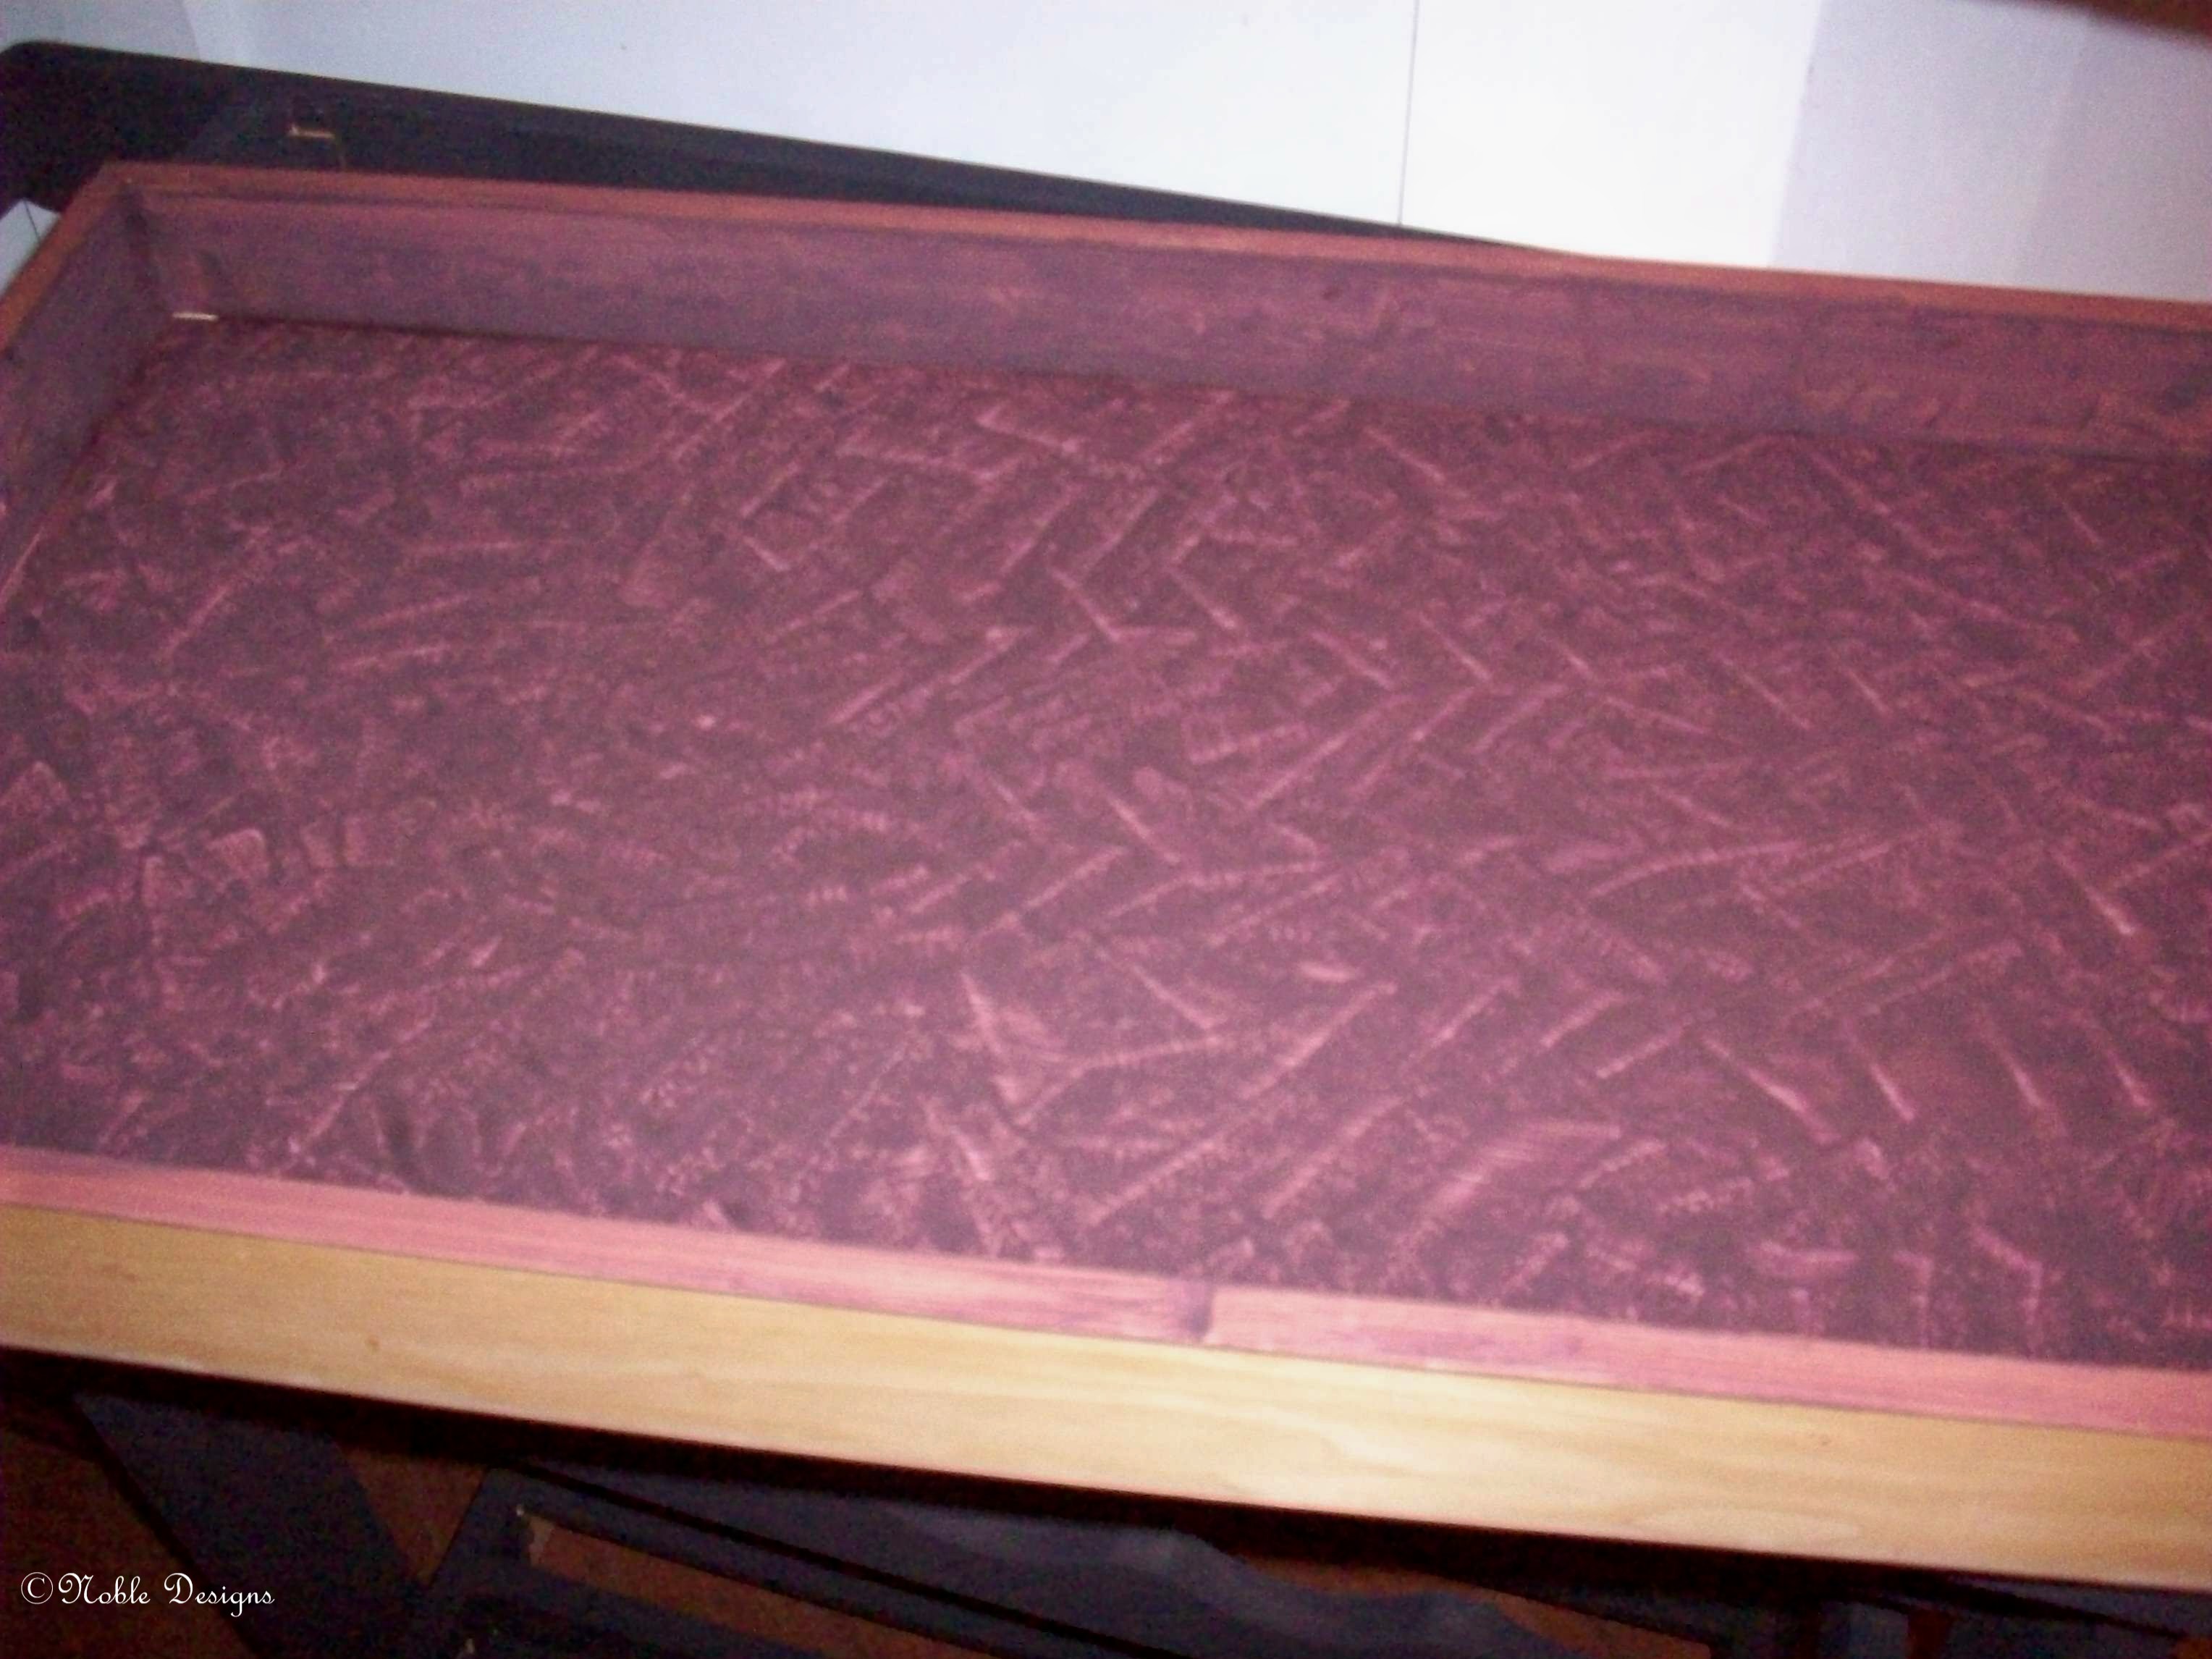
And lastly, my final bit of this and that. I painted the inside of the tray this morning.

Wine Cart Tray

Wine Cart Tray

This is only one coat with a stippled effect. I may use some black over the top of it. I’m going to used the Midnight color on the outside of the tray.

Happy creating!

A Spy in the… Changeroom

I haven’t done any sewing all week! No painting or jewelry either. What have I been doing? Well, a lot of sneezing, sniffling and coughing, and feeling rather miserable. The weather is finally nice and I have a Spring cold.

Both of my sons had dental appointments in the big city next to us this past week, so I found myself with a good two hours before I needed to pick them up. It was too far to drive home and back again, so I was wondering what to do. Then I remembered a bra specialty store that had been close by. It had moved since I had last been there years ago, but my dear hubby googled it for me.

I dropped in, and went for a fitting. I was a bit surprised by the size I ended up in. However, it did fit. But having learned so much about bra-making in the past year, I was curious if the wire size was the same as what I used to wear in RTW sizes. I came home and checked, and yup, same wire size as before.  So now, a smaller band, so a bigger cup.

The most exciting part of being in the boutique was looking at the bras and seeing aspects of things I’d either read, or seen or used!

Like this one: (Yes, I took a few pictures with my phone.)

Prima Donna showing elastic at hooks

Recognize that downward hike on this popular brand? This is something Sigrid uses and mentions numerous times on her blog, and I’ve adopted it too. Beverly Johnson describes how to do this in her Bra-Makers Manual. However, I don’t think my hike is this downward.

And there was this:

Fantasie bra showing same elastic

Do you recognize this? This is the same way I was recently shown how to attach the strap. However, in this case the company used the same strap elastic as used on the strap itself. I think that makes a nice continuous visual line.

And one more:

Fantasie bra showing sheer powernet

On this bra I recognized the power net the company used; I’m pretty sure it’s Regular Power Net. Bra-Makers Supply describes it as looking ‘meshy’. I’ve used it and it looks exactly like this!

I had such fun at the boutique – all for reasons I’m sure most customers don’t experience. But the best moment I had while there? It was when the woman fitting me picked up my bra – the one that I had most recently sewn – and asked if it was a Fantasie! Well, if that isn’t going to make me feel great about my bras, I don’t know what will.

I still have a bra cut out on the dinning room table and plan to get it done this week. I’ve made all the adjustments to the pattern, and even made a custom bridge following Norma’s instructions from her ebook. So my next post won’t be quite as exciting as me sneaking pictures in a dressing room, but I’m sure I’ll be feeling much better by then!

Happy creating!