I have a couple of really beautiful bra kits with Microduoplex in them. I’ve heard often that it’s very hard to sew, so I ordered some plain white to practice sewing it.
I’d also read as many tips as I could about how to sew it. Those tips are things like: use tear-away paper underneath two layers, use a microtek needle, use So Fine thread, lengthen your stitch length, use a straight stitch plate.
I tried almost all of the suggestions – probably in the same order as above too. There were a lot of skipped stitches and sections where the stitches didn’t take at all the first few times.  Believe it or not, this was sewn all the way across. You can see the skipped stitches, and where there are no stitches in the material at all.
I didn’t find the paper underneath did a thing. Nor was I finding any of the others tips helpful either. That is, until I decided I would buy a straight stitch plate for my machine. Once I had the straight stitch plate on, the microduoplex sewed so easily. It was amazing the difference it made.
It sewed so easily without any paper underneath, and without the longer stitch length. Let me tell you, while I was sewing, I thought that new stitch plate was completely worth the money I paid for it! Once I started sewing, I was excited to finish a bra. This one was only using white mircoduoplex, and then a bit of lace left over.
This is very pretty. I have to say, after trying the straight stitch plate for the cups, the bra came together quite easily.
I can see one problem with my photos though. The foam cups I’ve been using really don’t fit my size now. I’m going to cut out some new foam cups this week.
One bit of experimenting I did on this bra was to add some non-stretch lace to the strap elastic at the front. My thought was many high-end RTW bras use strap elastic only, but have a bit of embelishment on the front strap. I was thinking it’s more than just decoration – it’s to stabilize the straps.
 I would have used a bit more lace, but I was down to scraps and that was all I had left. That lace was very well used.
If you haven’t tried microduoplex, I do encourage you to try it – but make sure you have a straight stitch plate! It really is a lovely material for our bra-making.
Happy creating!
 The colors are so vibrant, I really wanted to pick that up in the panties. So I didn’t go with just one color.
  I love the pop of turquoise in the lace trim. I think it coordinates well with the turquoise elastics in the bra.
 No basic black here.
 These are adorable too.
 For both pairs of panties I used the House Morrighan Clover Boybrief. I think these sets will cheer up the coldest day!
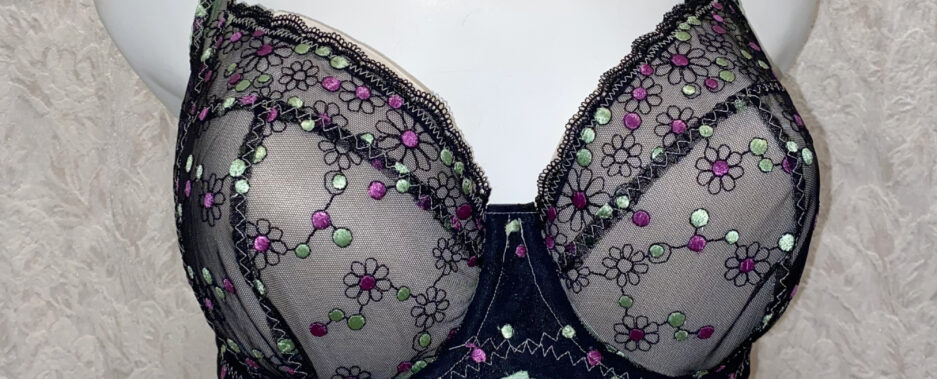
 To make a lace edge, you need to have a center seam in the cradle.
 The band doesn’t have lace on it. I think I’d like to make one like that, but I used almost all the lace in the kit doing the cradle and cups.
 Isn’t that lovely? The constrast between the turquoise and the black is striking! This is another very happy make.


 Oh, I do like these.

