The February Challenge for Bra-Makers Supply is “Building on Basics – One of the keys to great bra-making is a solid skill foundation. This February, we challenge you to share with us techniques you have found to make your bra sewing easier, faster or more professional looking. We’ll be sharing tutorials on the basics of intimate apparel sewing. Think of this month as the underpinnings of your underthings.“
I have two ideas to share with you this month for the challenge. Both fall under the category of techniques. As well, both concern sewing on the channeling.
Tip One
My first tip is to use a little bit of Wonder Tape. I was first introduced to this marvelous tape through bag-making. It’s really great for holding a zipper in place for sewing, but I’ve found it to be wonderful in bra-making too.
I use it to hold the channeling in place at the top of the cup – whether at the underarm, or at the bridge. It’s a small thing, but I found the channeling would move a bit on me, and I didn’t want it to move. Pins were too awkward to use with the channeling. At one point when I was making a handbag, I thought to use the wash-away tape to hold the channeling. I have to say it works really well.
I snip off a little more than a 1/4″ of the tape, stick it to the duoplex, peel off the backing, and press the channeling in place with my fingers. Voila! It holds the channeling for me so I can start to sew without the channeling moving on me at all. Here it is with the backing on it still. And below no pins are needed to hold the channeling in place. The channeling will stay. It’s a little thing, but it really does help.
 Did you notice on the package it says ‘wash-away’? That’s right. I can leave it right there after I sew on the channeling, and it will wash away in the laundry. It doesn’t get much better than that.
Tip Two
My second tip has to do with how I sew on the channeling. One of the things to watch when sewing on channeling is you don’t leave too small an opening for the wires. I wasn’t having a problem with this, but am always looking for neater, better, easier results.
I was using my Stitch-in-the-ditch foot to do some top-stitching and thought to use the same foot to sew on my channeling. I use the guide on the foot to guide me along the curve of the channeling. I can sew nice and close to the edge of the channeling. And I don’t have to worry about not enough room for the wires.
Here is my foot all lined up with my wash-away-tape-held channeling. I move my needle to be where I want it and away I sew. This gives a nice, neat, close-to-the-edge finish to the channeling.
And of course, you can use it on both sides of the channeling to get that same neat finish. I hope these little tips are helpful.
Happy creating!

 I realized just how quickly these findings will take color. However, the BMS Challenge for January was coming close to an end, so I decided these will do nicely.
 This has me thinking, I might want to do some timed tests with bits of elastic and such and record the results after say 1 minute, 2 minutes, 3 minutes…
 I’ve used 5 x 3 hook and eyes on each side of the bra to attach this back. I can take this off and use another back in the future (When I get another back made.)
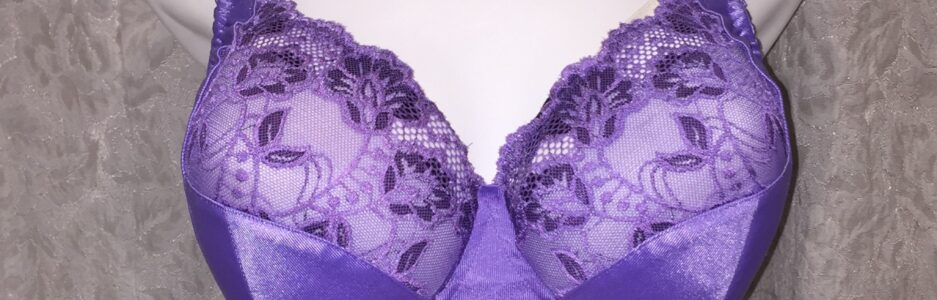
 Below is my bra from the front. It doesn’t look any different from a normal bra.
 Lastly, here’s my bra under the sweater on my display.
 What a subtle but lovely little pop of color peeking out!