Will It Ever Stop Snowing? And Other Greats!

I saw a cute video by Rick Mercer, a Canadian comedian, which depicts how I feel so well:

Yes, that is the sad state many Canadians are in right now. We’re just hoping for warmer weather, and … well, it’s snowing right now. Sigh. So much for the calendar saying Spring.

I’ll happily stay indoors today and work on my pattern, right? Sigh, the pattern. Okay, I’m going to focus on the positives and deal with the challenges next.

I got the short wires from Bra Makers Supply. I’m was hoping for the same length on the side, and shorter at the front to accommodate the lower bridge. Great! But nope, those didn’t work the way I wanted them to – too short on the side. I think I still want the Vertical wires, I’ll follow Amy’s suggestions on her blog (Cloth Habit) for shortening them.

With newly shortened Vertical wires in hand, I got out my Bra Makers Manual and drew a new bridge & cradle for these new wires. Another great! But, I’m not done with this topic yet. More to follow…

Then I decided to make sure my custom bridge really was the best fit I could get. An article from Threads that talks about making a Duct Tape Sloper was my inspiration. I decided to follow the same principle and use multiple layers of tape to make a ‘sloper’ for my bridge. That worked well too. And then I checked it against the custom bridge I’d made. It is almost exactly the same as what I’d done when I followed the instructions in Norma’s book, Demystifying Bra Fitting and Construction. So I have my correct bridge shape. Great!

full bridge

Here’s my little tape sloper. I didn’t continue the sloper past the marker – that wasn’t the problem area, so I focused on the middle of the bridge. The rest of the wire was fitting fine. But that area…

Well, a picture is worth a thousand words, so here is the difference between my little tape sloper and the newly drafted cradle pattern. Yes, there is a problem.

cradle issue

Do you see that area at the front of the cradle where the bridge is? It’s nice and round. I don’t match. So, what to do about that?

I have asked that question before, and didn’t get an answer that was satisfactory. I was told by one person there was nothing to be done about that. But that’s an important very supportive area, and it does need to fit. So, I re-drew the cradle with the custom bridge in place of the bridge here.

Back to those shortened wires. Oh my! I will tell you, shortening them is not a problem. However, covering that rough edge is! I read Amy post, and decided to follow her suggestions for using Plasti-Dip. There was no variety of colors, in fact I had my choice of red or black. That was it.

So with red Plasti-Dip in hand, I came home and dipped my newly cut and filed wires. I let them dry overnight even. They looked great! And then came that magical moment when I went to insert them into the bra channel. I should have taken a picture… I inserted the newly rubberized end of the wire into the channel and pushed, and pushed and pushed. Then I did what I’m sure 99% of married women do when they can’t do something physically — I called my husband. ‘Honey can you help me?’ He pushed and pushed. And then looked at me and said that’s not going anywhere.

It seems Plasti-Dip is a rubber coating. Rubbery is not what I was expecting. I’ve been to every hardware store in 3 towns and no one has anything other than the rubber coating-type Plasti-Dip. Well, that didn’t work.

I have read about others using Goop, but I don’t think that is a preferred method. I bought some heat-shrink tubing and will try that. I’ve said this before, and it’s still true… I’m close.

Happy Creating!

I Tried a Custom Bridge Already

I kept thinking about how to alter the bra pattern sitting on my desk so the bridge would fit and go right back to the chest wall. Last year I spoke with the staff at Bra Makers Supply, and they’d suggested I lower the bridge if it wasn’t going all the way back. That really helped. So that was one of the things I’d done on the custom bridge I made as well as a couple of other changes.

And some of the ideas I was thinking about to alter the bridge, like narrowing the top of the bridge but keeping it a normal width at the bottom, were the same alterations I’d done using Norma‘s book: Demystifying Bra Fitting And Construction. I had no desire to go back down that road again, trying to re-invent this, especially as all the changes I was thinking of were the same as before.

I decided to look at what I’d done last year when I made a custom bridge. I have a bag of bras I’ve made, and they are put into the bag when I’m not completely happy, or I deem them ‘unwearable’. It’s like the Bag of Bra Shame! I’ve kept them all so I can use parts like wires, rings & sliders , hooks & eyes again. So I dug out the bag, and pulled out the bra on which I’d done the custom bridge.

IMAGE_046

I didn’t even finish this completely. The channeling didn’t get sewn down. No little bows to cover up the seams at the straps. Poor little Ivory Shelley. When I made this, I was disappointed in not getting the fit just right (again), and I stuffed it into what seemed to be an ever-filling Bra Bag.

This morning I tried it on again, and there are a few minor adjustments to be made but it does fit pretty well. The bridge works just like it should. It goes all the way back. So I thought some more about what I didn’t like about this bra.

I decided to look at the wires. I originally had put in 38s, then 40s, (my original bra pattern changed shape a bit when I altered the bridge, and the original wires didn’t fit properly.) and although I’d been told I wasn’t likely a smaller wire size, I decided to try one. I had a couple of 38 Vertical wires, which correspond to a 36 wire. It worked out quite well that I hadn’t finished that channeling.

And… drum roll please. It fits! The wires aren’t too tight. I am amazed! In one little experiment, I may have taken care of all my fitting challenges I couldn’t figure out. I’ve had this little Ivory beauty on all day and it’s more comfortable than any of the $200 bras I own.

I am so excited! It’s drafting time again. Now with the bridge problem fixed and past adjustments to the patterns, I’m ready to make something that fits PERFECTLY!

Happy creating!

A Little of This, A Little of That

That about describes what I’ve been up to; Doing a little of this, and a little of that.

One thing I did this week that I’m so pleased with is a re-vamping of a couple of sundresses I made last summer. When I first made them, they were so easy. I bought the material with the smocking already done. I sewed them up and added some straps and hardly wore them! So much for so easy.

Last week I was reading in Andrea’s blog: Satin Bird Designs how she had remade a dress into a Maxi skirt. And I knew right away what I wanted to do with those sundresses!

Pink Skirt

Here’s the first one. Much more versatile than a sundress. I’ve worn it twice this week already!

I didn’t do much to remake it. I counted how many lines of smocking I wanted for the waist band, and cut it off in-between those lines. It was a bit funny when I was doing that because they weren’t perfectly lined up. I was wondering if I’d been drunk when I first sewed it. Then I remember a couple of things: One, I don’t drink. And two, the top was what I’d matched up evenly. So the material may have had a defect in it.

However, as Madalynne so recently wrote on her blog quoting from Norma’s book: “The only reason to tear out top stitching is if… it looks bad from 3 feet away.” So, my issue isn’t top stitching, but taking the heart of the message – I don’t think anyone is going to come up and start examining those rows of smocking and notice they’re not straight. Mind you, some of my friends may do that now. (smile)

And here’s the second skirt, which hasn’t been washed yet so is still a little stretched out in the waist band:

Black Skirt

To finish both skirts, all I needed to do was finish that new edge I’d cut. They were already seamed from last year. I didn’t want to change the look on them, so did a lettuce-edge with a small zigzag to cover the loose edges and keep them from fringing in the wash.

I did buy a couple of pair of pants this week that I’m going to cut off and make into Capri pants. The price was just too good to pass on.

My bra is still 3/4s of the way done and sitting on the dinning room table. I decided just as I was putting on the upper band elastic that I was going to change the bra. So no fabric straps on this one – this one is going to have strap tape & strap elastic for the straps – more similar to what I saw in the boutique. I’m just waiting on an order now from Bra-Makers to finish it up. This one is with a custom bridge from Norma’s book.

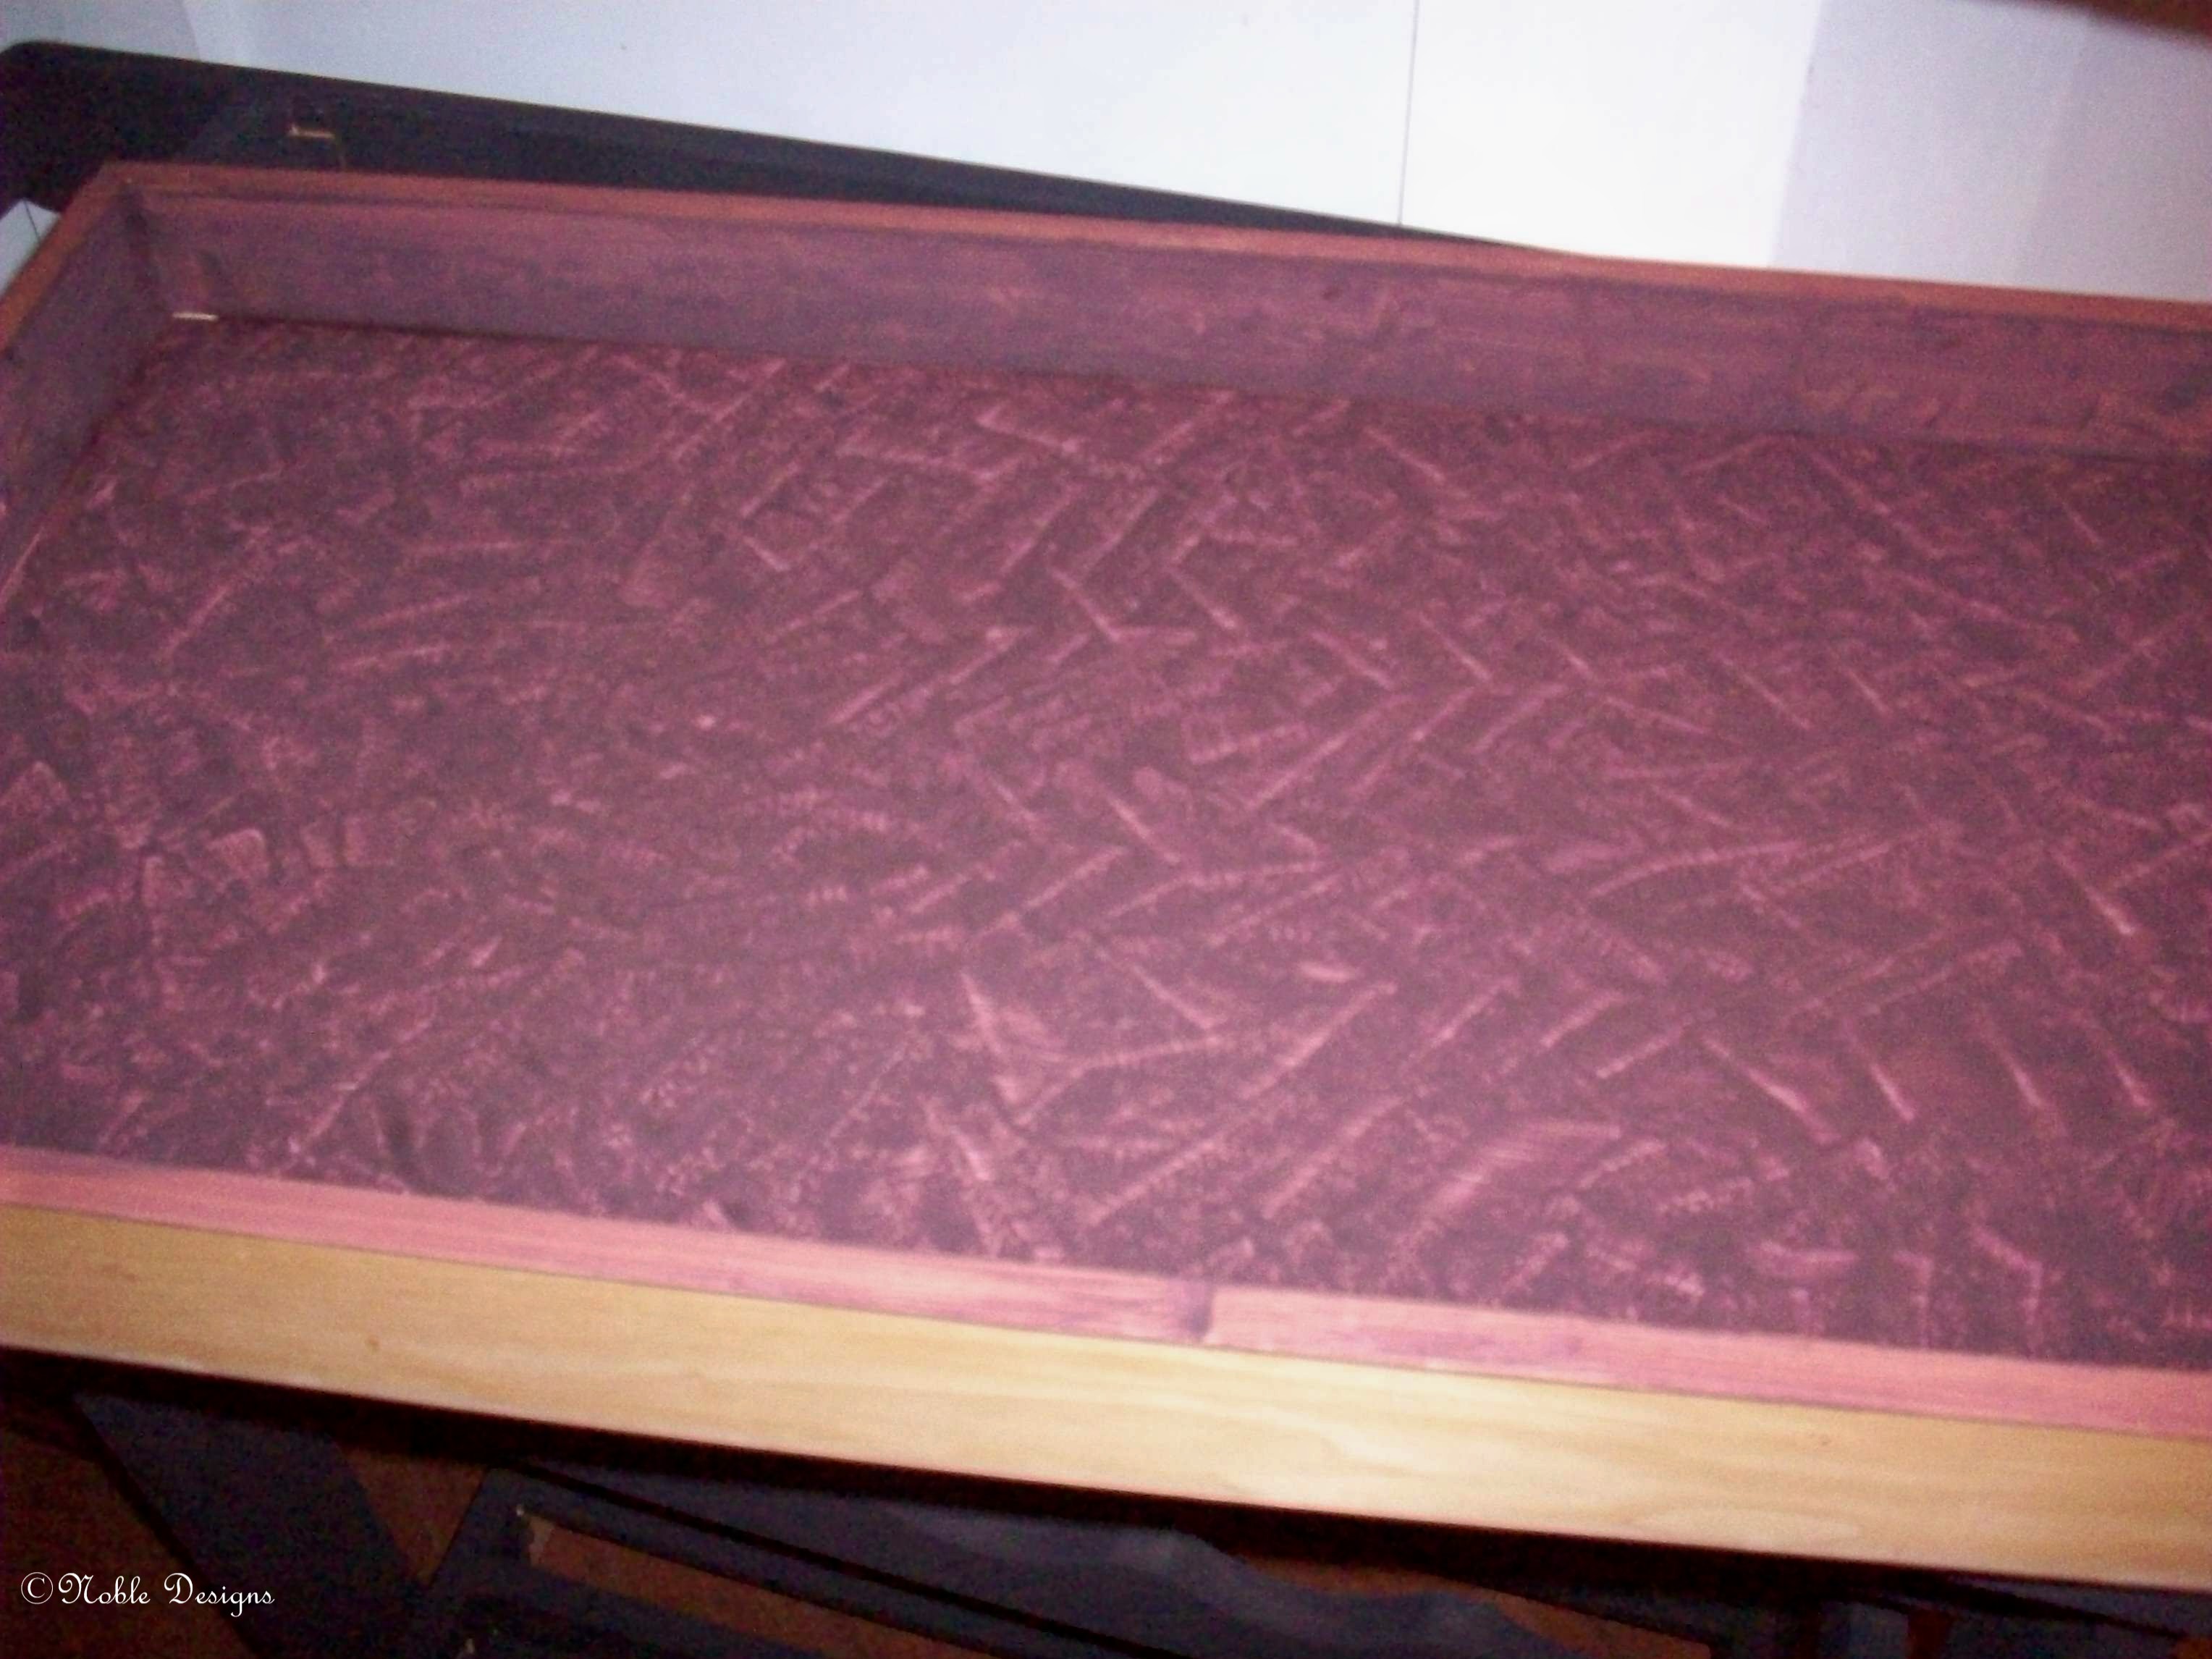
And lastly, my final bit of this and that. I painted the inside of the tray this morning.

Wine Cart Tray

Wine Cart Tray

This is only one coat with a stippled effect. I may use some black over the top of it. I’m going to used the Midnight color on the outside of the tray.

Happy creating!

A Spy in the… Changeroom

I haven’t done any sewing all week! No painting or jewelry either. What have I been doing? Well, a lot of sneezing, sniffling and coughing, and feeling rather miserable. The weather is finally nice and I have a Spring cold.

Both of my sons had dental appointments in the big city next to us this past week, so I found myself with a good two hours before I needed to pick them up. It was too far to drive home and back again, so I was wondering what to do. Then I remembered a bra specialty store that had been close by. It had moved since I had last been there years ago, but my dear hubby googled it for me.

I dropped in, and went for a fitting. I was a bit surprised by the size I ended up in. However, it did fit. But having learned so much about bra-making in the past year, I was curious if the wire size was the same as what I used to wear in RTW sizes. I came home and checked, and yup, same wire size as before.  So now, a smaller band, so a bigger cup.

The most exciting part of being in the boutique was looking at the bras and seeing aspects of things I’d either read, or seen or used!

Like this one: (Yes, I took a few pictures with my phone.)

Prima Donna showing elastic at hooks

Recognize that downward hike on this popular brand? This is something Sigrid uses and mentions numerous times on her blog, and I’ve adopted it too. Beverly Johnson describes how to do this in her Bra-Makers Manual. However, I don’t think my hike is this downward.

And there was this:

Fantasie bra showing same elastic

Do you recognize this? This is the same way I was recently shown how to attach the strap. However, in this case the company used the same strap elastic as used on the strap itself. I think that makes a nice continuous visual line.

And one more:

Fantasie bra showing sheer powernet

On this bra I recognized the power net the company used; I’m pretty sure it’s Regular Power Net. Bra-Makers Supply describes it as looking ‘meshy’. I’ve used it and it looks exactly like this!

I had such fun at the boutique – all for reasons I’m sure most customers don’t experience. But the best moment I had while there? It was when the woman fitting me picked up my bra – the one that I had most recently sewn – and asked if it was a Fantasie! Well, if that isn’t going to make me feel great about my bras, I don’t know what will.

I still have a bra cut out on the dinning room table and plan to get it done this week. I’ve made all the adjustments to the pattern, and even made a custom bridge following Norma’s instructions from her ebook. So my next post won’t be quite as exciting as me sneaking pictures in a dressing room, but I’m sure I’ll be feeling much better by then!

Happy creating!

Something Other Than a Bra

I must admit, I’m a bit of a bulldog when faced with a problem. I simply won’t give up, although I do say that I’m giving up from time to time. I stubbornly stay at something until I figure it out. That’s how I’ve been with getting my perfect bra pattern. But even I need a bit of a break every once in a while.

Here’s my latest distraction:

Wine Cart

This wine cart was one of those wonderful finds. My dear hubby and I were out hitting some garage sales and I saw this. I fell in love at once, and the price was incredible – only $15! I wondered why it was so inexpensive, but when I got home realized it wasn’t level. One of the wheels wouldn’t go in all the way. After trying many ways to get that wheel in all the way, I figured I had nothing to lose and gave it a whack with a hammer. The wheel went in and I haven’t messed with it since.

The one thing I didn’t love about this cart was the color. I’m not a fan of pine. I prefer darker woods. So, this one finally is getting a makeover.

I painting it with Reloved Chalk Paint in Midnight. I’m not done yet, but it’s looking so much better. You can see the original color of the pine on the tray.

The cart is going to be solid Midnight, but the tray is going to be Midnight on the outside, and Barn on the inside. I may mix the colors a bit to get a darker red, but I’ll decide after the first coat of paint.

Tray

I’ve cut out some flowers to do a decoupage on the bottom of the tray as well. So, still a little work ahead of me, but I’m liking it so far.

And on some sewing news:

In some other surprising and sad news, ELingeriA is closing. They’ve set a closing date of May 31st. Currently they’re offering 20% off most items. Again, just click on their name to go to their website.

I will be sad to see them go.

And just an update, I worked on my new bridge over the weekend. I’m still not sure I’ve got it just right, but being as determined as I am, I know I’ll get it. Norma’s book , Demystifying Bra Fitting and Construction, has been a tremendous help. Without a doubt, I recommend it.

Happy creating!

Lowering the Bridge

So, I want to take a quick look at where I was at: the new longer wires I’d tried weren’t fitting properly and it was almost like giving up all the ground I’d gained in getting a proper fit; the bridge wasn’t going all the way back to the chest wall – and I was really beginning to wonder if it was really possible!

I put in yet another call to Bra-Makers Supply with another question. And guess what? Bridges really can go all the way back to the chest wall! I’ve had success!

Something that would have helped me tremendously is Norma’s new book: Demystifying Bra Fitting and Construction. I’d read on someone’s blog (I can’t remember whose blog to give her credit (sorry!)) there is a great section in the book on bridges, and that one section alone made the whole book worthwhile. It really is a great section! I’m hoping to have some time either today or Saturday to try it out. And even if you’re getting a great bridge fit, there is so much information in the book. Well done, Norma! and thank you!

However, I did have more success this week with my bridge. Is it perfect yet? Not quite, but it is actually all the way back to the chest wall. I think I just need to tweak the shape now.

Here’s my most recent Shelley.

Bra front

Most of the materials are from Bra-Makers Supply, but the lace is a wonderful lace I found in Merckwaerdigh’s store.

On this bra I lowered the bridge by 3/4 of an inch. This gave the bridge the room it needed to go all the way back to the chest wall. I also overlapped the wires at the top of the bridge. I tried a tester earlier in the week without overlapping the wires but I still wasn’t getting the bridge all the way back. So, now just to tweak the shape a bit. Even my hubby said this is the best fit he’s seen me get yet.

bra side

Here is the side view. I re-made my Shelley pattern for this bra, but still need to take a bit out of the underarm area – there are a few puckers there, but not so many that it’s unwearable. Everything else was really good. Well, I may move the straps in a tiny bit.

bra back

And the back. I am really loving the new way of attaching the straps. As promised, I took some step-by-step pictures to show what I did.

Top elastic sewn on

When attaching the upper band elastic, don’t take the elastic down around the curve to the hooks & eyes; end it at the top of that curve. This has been trimmed to be nice and neat.

new shoulder elastic pinned

Take some elastic – I’m using the same bottom band elastic here – and pin it on with the little scallops facing outward. Can you tell I like to pin things securely?

shoulder back pinned

Put a ring or slider on the elastic and fold it over. Since the rings & sliders come in sets, I’ve alternated which ones I’m using and they both work great. Here it is from the inside of the bra. And again I pinned it.

strap attached

After sewing it on with a zigzag on both sides of the elastic, I attached the strap. It gives a nice professional finish to the bra.

close up shoulder attachment

Doesn’t that look nice and neat? I will definitely use this again and again.

Next to try again with my Shelley with a couple of tweaks.

Happy creating!