A New Cardigan

It was way back in February when I heard about this cardigan. Andrea from Satin Bird Designs posted about it on her blog saying how she was thinking of making it. She also said how it was rated best pattern of 2013 on Pattern Review. I picked up the pattern right away – it’s McCall’s 6844. Like Andrea, I lost weight and had to give up my favorite cardigan. I bought one a year ago, and didn’t love it like I’d loved my old, now-too-big one.

th

But this cardigan looked charming. I knew I’d love it the moment I saw it. I made View C, the same one shown on the front.

100_2417

Here’s my version. I bought this material back in the spring, and am so glad I did. I actually didn’t have quite enough when I cut it all out. I had to go and buy more material for the facing, and unfortunately this material was gone. Since I couldn’t find the same material for the facing, I decided to do some color-blocking.

100_2418

Here’s the underside of the facing showing. I really love that pop of deep color coming out! It was between this and bright red. I decided on this because there’s a black design in it, where the red was a solid color. I thought the black would pull the two materials together more.

100_2419

This shows the detailing on both materials closer up. I really love this!

100_2420

Here’s the jacket from the side. I love the peplum on it. It fits perfectly too. I pulled out my sloper and compared the length for the waist and for the arms. I thought it would be a good way to finally use my sloper.

100_2421

And from the back. I really love this cardigan. I wore it to work the day after I finished it and had that wonderful experience when someone asks, ‘Where did you get that?’ Isn’t that the best feeling? And I’ve worn it a few times since that first day, and every time I wear it, I’m asked where I got it. That really is the best feeling.

My cardigan is looser fitting than the model’s on the front of the pattern. I’m two different sizes, so I chose the larger size to make it not as fitted. I thought about what I wanted and didn’t want a close fitting cardigan. Hers doesn’t look like it would wrap around her much at all. It looks quite fitted. Mine does wrap around a bit at the front, and I like that too. I have a few RTW cardigans that aren’t designed to wrap around the body at all, and barely touch at the center of the body. I was told they’re called Toppers. I prefer a little more coverage and being able to wrap myself up if I feel chilly.

As well, the pattern is listed as Petite, but the pattern pieces are all marked where to shorten for Petite. I made the size without adjusting for petite although I did shorten the arms where they were marked to shorten for Petite.

I like this pattern so much, I’m entertaining View B or D next.

I’m adding a P.S. to this post. I had a request for a picture of me in my cardigan. So, here are a couple of pictures of me in my cardi.

me and cardi front

You can see in this the overlap action in the front. I wanted this. I’m always cold, and like feeling wrapped up.

me and cardi back

And the back. I love the peplum. It a cute flirty touch.

Happy creating!

A Little of This, A Little of That

That about describes what I’ve been up to; Doing a little of this, and a little of that.

One thing I did this week that I’m so pleased with is a re-vamping of a couple of sundresses I made last summer. When I first made them, they were so easy. I bought the material with the smocking already done. I sewed them up and added some straps and hardly wore them! So much for so easy.

Last week I was reading in Andrea’s blog: Satin Bird Designs how she had remade a dress into a Maxi skirt. And I knew right away what I wanted to do with those sundresses!

Pink Skirt

Here’s the first one. Much more versatile than a sundress. I’ve worn it twice this week already!

I didn’t do much to remake it. I counted how many lines of smocking I wanted for the waist band, and cut it off in-between those lines. It was a bit funny when I was doing that because they weren’t perfectly lined up. I was wondering if I’d been drunk when I first sewed it. Then I remember a couple of things: One, I don’t drink. And two, the top was what I’d matched up evenly. So the material may have had a defect in it.

However, as Madalynne so recently wrote on her blog quoting from Norma’s book: “The only reason to tear out top stitching is if… it looks bad from 3 feet away.” So, my issue isn’t top stitching, but taking the heart of the message – I don’t think anyone is going to come up and start examining those rows of smocking and notice they’re not straight. Mind you, some of my friends may do that now. (smile)

And here’s the second skirt, which hasn’t been washed yet so is still a little stretched out in the waist band:

Black Skirt

To finish both skirts, all I needed to do was finish that new edge I’d cut. They were already seamed from last year. I didn’t want to change the look on them, so did a lettuce-edge with a small zigzag to cover the loose edges and keep them from fringing in the wash.

I did buy a couple of pair of pants this week that I’m going to cut off and make into Capri pants. The price was just too good to pass on.

My bra is still 3/4s of the way done and sitting on the dinning room table. I decided just as I was putting on the upper band elastic that I was going to change the bra. So no fabric straps on this one – this one is going to have strap tape & strap elastic for the straps – more similar to what I saw in the boutique. I’m just waiting on an order now from Bra-Makers to finish it up. This one is with a custom bridge from Norma’s book.

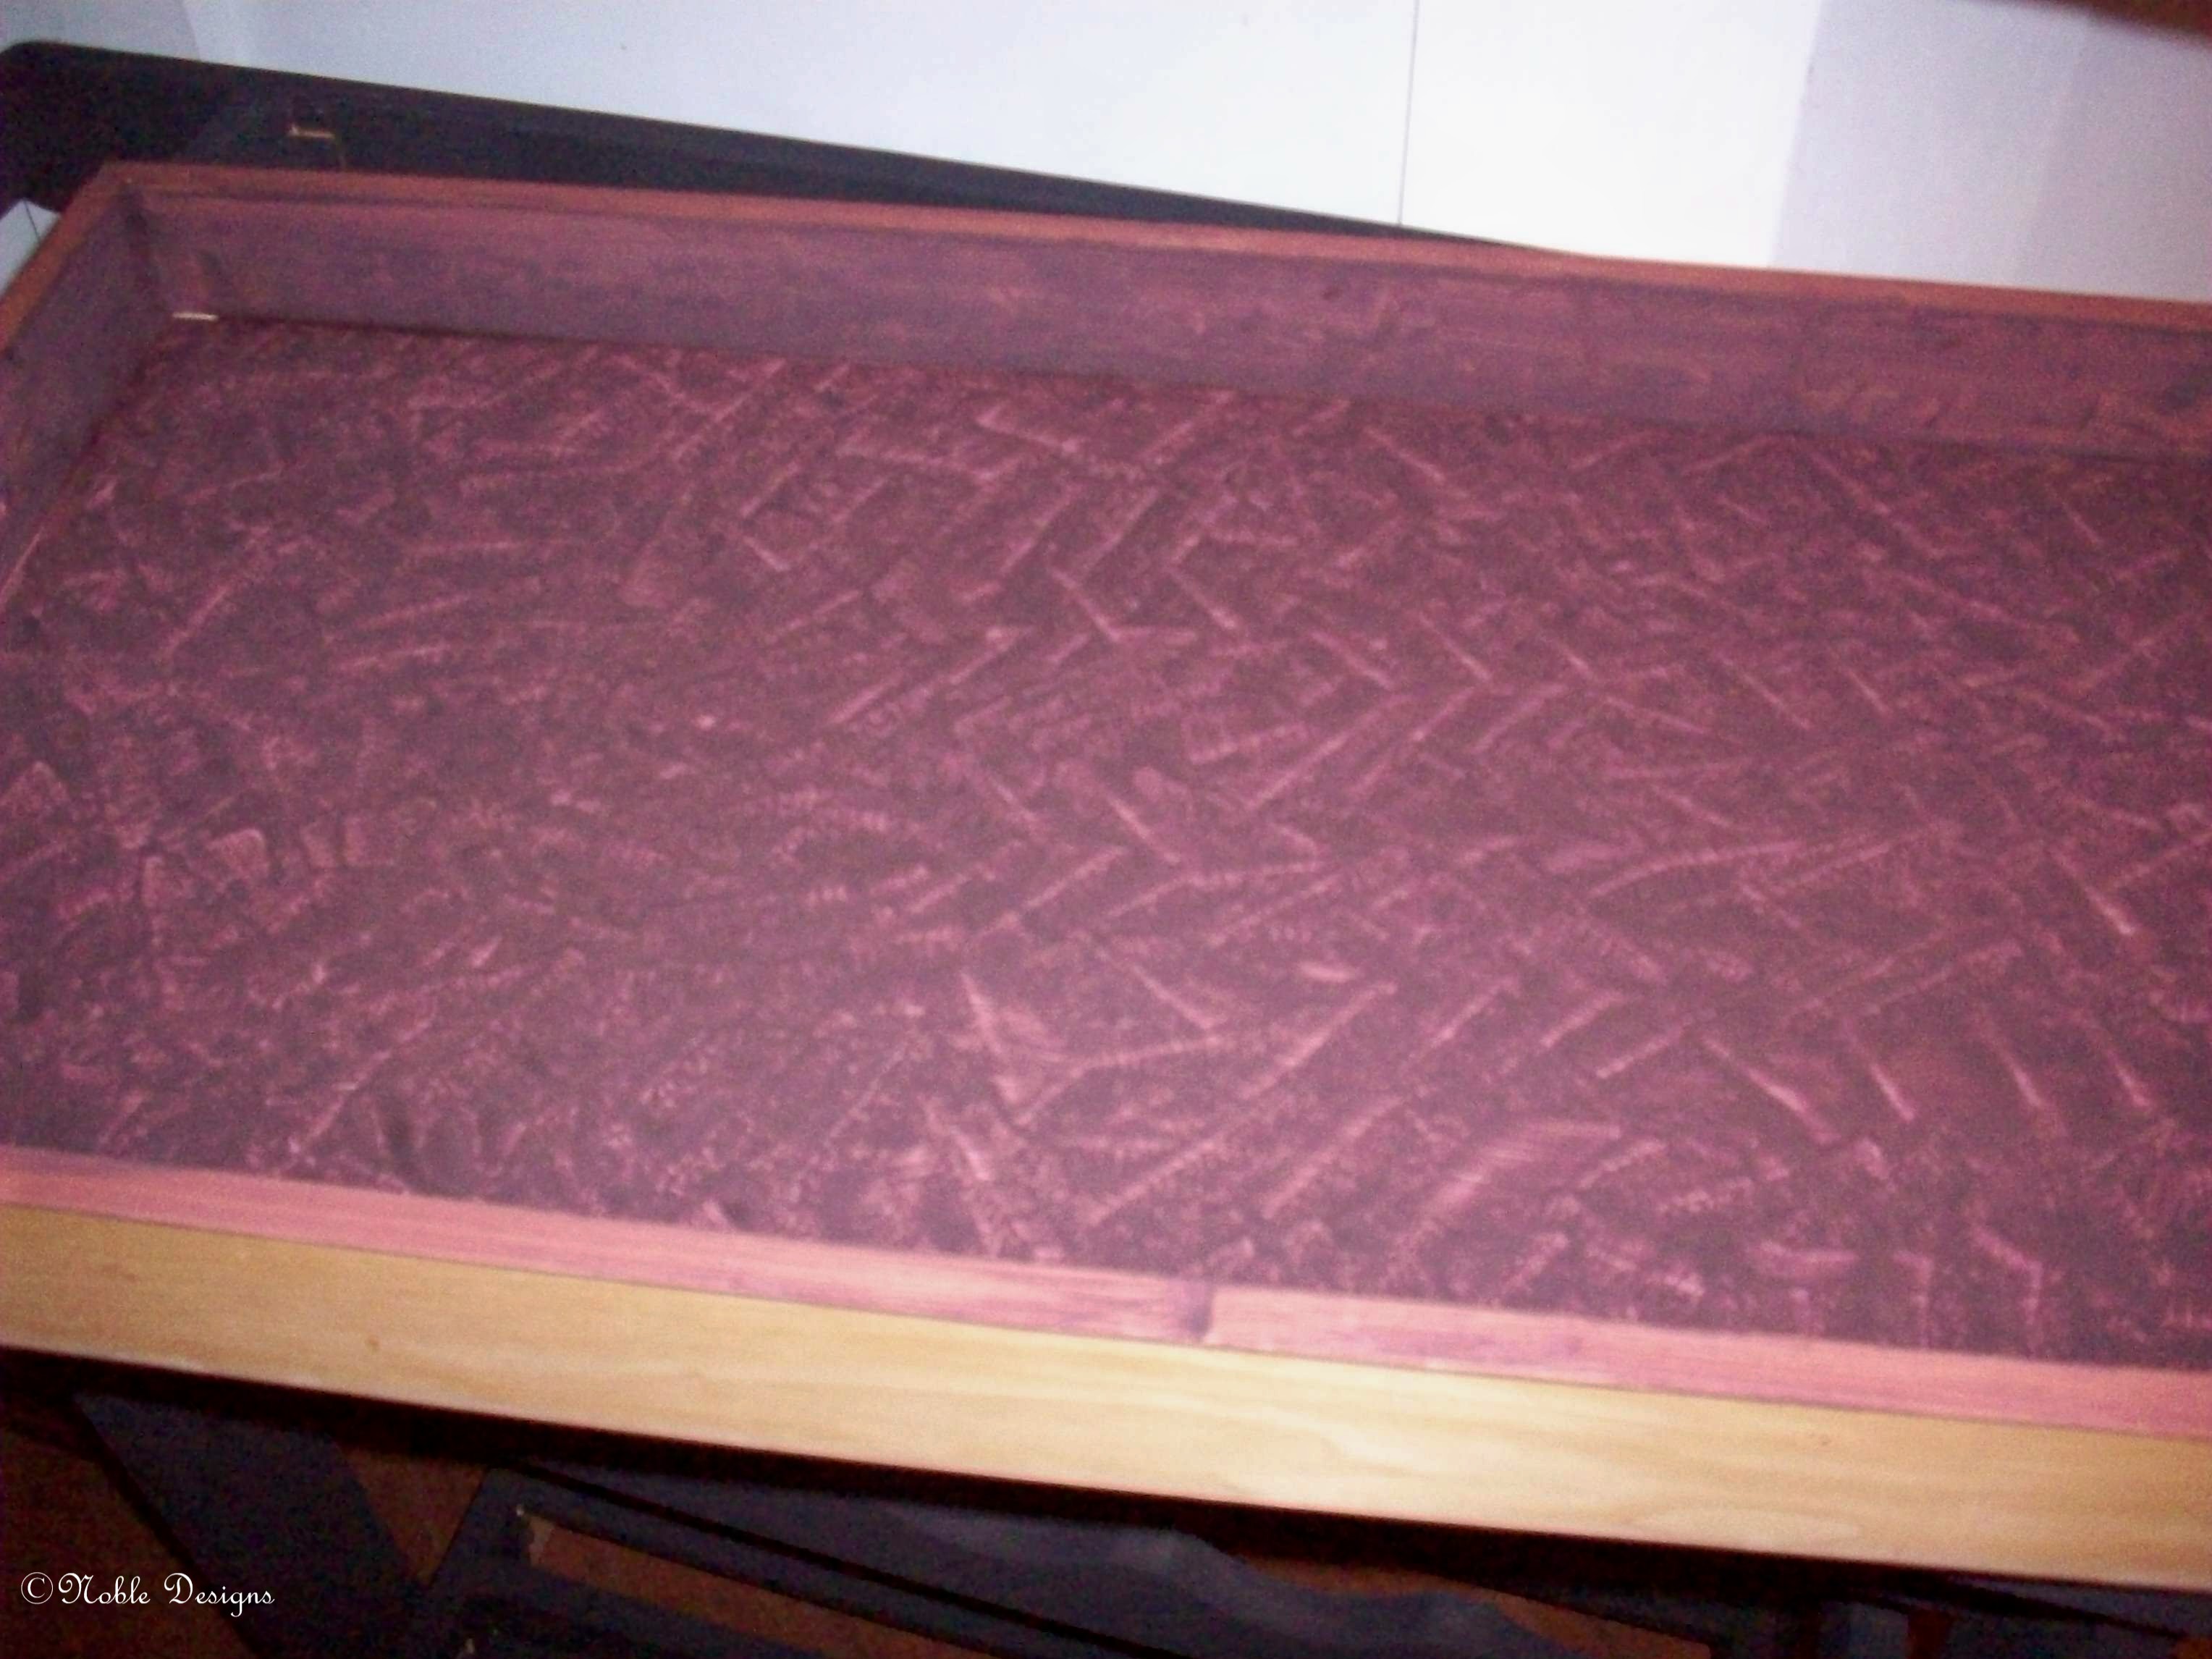
And lastly, my final bit of this and that. I painted the inside of the tray this morning.

Wine Cart Tray

Wine Cart Tray

This is only one coat with a stippled effect. I may use some black over the top of it. I’m going to used the Midnight color on the outside of the tray.

Happy creating!

Here a Change, There a Change.

Just a follow up from last week’s post: I don’t prefer Vertical wires. I wore them for a whole day, then on the second day I took them out. I put in my regular Long wires and am much more comfortable. That just goes to show, some women dealing with the Omega shape will do better with them, others will not. There really are no ‘set’ rules, are there?

So, I had altered my Sewy Rebecca pattern for my needs – smaller lower cup edge to fit into the smaller wire frame I need. But I decided to do a few more alterations. Here’s why:

There are things I do like about the Sewy Rebecca, and there are things I don’t like about the pattern. There are also things I like about the Shelley Full Band pattern, and a couple of things I’d change. So, I decided to see what would happen when I put the two patterns together.

I was joking with Andrea from Satin Bird Designs saying I was creating a monster; she dubbed the new bra the Franken-bra. Thankfully, it turned out very well and much prettier than those monikers sounded too.

Here’s what I did:

1. I really like the upper cup on the Rebecca – it’s just a little straighter across the seam line, so gives a little more lift. So, I used Rebecca as my starting point.

2. However, I like the split lower cup on the Shelley, so I split the lower cup on the Rebecca.

3. I also changed the shape of the Rebecca  power bar to look more like the Shelley – especially at the top where it joins the strap. In the English instructions for the Rebecca only strap elastic is used for the straps whereas the Shelley uses a fabric strap, which is my preference.

4. So I added the fabric strap.

As cute as Franken-bra is, I re-named her Shelley Rebecca. Here she is:

Front View

Here’s the front view. I used a non-stretch lace (Floral Lace Fabric) I bought from Bra Makers Supply. I really like this lace fabric.

Here’s their description:

“All-over woven lace with a floral design with virtually no stretch – making it perfect for bra cups. We would recommend stabilizing the fabric for the frame or the straps but it certainly could be used for the entire front of the bra.”

I really like this material. One thing I like about it is the seams virtually disappear into the fabric because of the texture of it. The other is it really is non-stretch, so can be used all over.

Side View

Here is the side view. Nice smooth fit into the wires, so I’m very happy. (If you’ve been reading along, please notice my restraint here in what I’m NOT mentioning.) A nice small underarm area, so again happy me! Do you see how those seams blend so well. I had to lighten the photos to get the seams and other details to show at all. Black on black really isn’t the best for photos.

Back View

Hmm, straps felt a bit too far apart still. I need to go through my patterns and make a back pattern I’m completely happy and thrilled about.

Again, I used a straight stitch to tack down the eyes, and then this time I also changed my width for the Zigzag to a wider than 2.5 stitch, which is standard for sewing lingerie. Both of these helped it go on nice and neatly.

Cup with arrows

This is just to show in a little more detail how the seams virtually disappear with this fabric. I was quite impressed with this. It also shows where I put the seam in the lower cup of the Shelley Rebecca.

Strap

Here’s where I changed the top part of the power bar. I also changed the direction it faced at the very top by cutting off the top and taping it back on ‘backwards’. I think I preferred it this way as I need the straps in a little more normally.

Well, I have more sewing to do, and a medical ID bracelet to make too.

Oh, and I used the foam cups to fill the bra cups this time. I’m still undecided which looks better.

Happy creating!