A Review of Sewing Panties Construction & Fit

Welcome to Michelle’s Creations for the Canada Cups – Cross Your Heart Relay blog tour, 2016.

banner-improvedI hope you’re enjoying all of our makes and reviews so far. This time around, I’m reviewing Beverly Johnson’s new Panty class and so is Deb, my booty buddy, from Sprouting JubeJube. Make sure after you read my post, you hop on over to read Deb’s thoughts on the class. If you started with Deb’s review, welcome here!  I do know Deb has been really busy with all her makes and has them all here in a separate write-up than her class review.

header_11223

Don’t you love Craftsy? It really is the best. They offer online classes that never expire, and in so many different categories (sewing, cooking, gardening, painting…); the instructors they get are the best and they answer your questions; Craftsy offers kits and supplies as well. They really are great!

You’ll see in my sidebar menu, I’m an affiliate with Craftsy. I decided to do this because I can do this without any compromise. I really do think they’re great. You won’t see me stand behind everything. But Craftsy, I do.

Back to Sewing Panties Construction & Fit. I started watching. I watched the class half way through the first night. Then got up the next morning and watched the rest of it. I felt ready and confident to draft my own panties which was something I’d wondered if I could really do before the class.

Beverly assures us that drafting our own panties isn’t hard. It’s just a few simple measurements. Then she proceeds to show us just how to do it. This photo is from Craftsy showing Beverly making her master panty pattern.

She was absolutely right! It’s not hard.

full_2846_373118_DraftingaMasterPattern_1

The drafting of the panty is very reminiscent of Suzy Furrer’s Sloper classes. Once we’ve drafted our pattern, Beverly moves on to show us the three basic styles of panties – Brief, Hipster, and Bikini – and how to make each one from our own master pattern.

From those three styles, Beverly shows some more variations like making your own French cut panties. There is also a style with the seams in the front. I had just been looking at the Make Bra DL21 pattern. I’d read great reviews on them and how the seams didn’t show at all. I’m going to try my hand at drafting my own!

My big question is how will my class-drafted pattern compare to my favorite pattern?

Before I made a pair up, I wanted to compare my class-drafted pattern to my favorites: Kwik Sew 2286.

Here are both back pattern pieces – the black outline is the class-drafted pattern; the white pattern piece is my 2286 pattern:

back 2

The pencil wasn’t showing up very well in the photo, so I redrew the lines in black on my computer. The class-drafted Hipster hits the center back exactly the same as my 2286s. The hip sits a bit higher on the class-drafted pair. As well, the class-drafted back is a bit wider in the hip and gives a little more cheek coverage. I had no idea my 2286s were cheeky!

I was thinking about the size difference, and remembered Beverly does suggest in the class to start with a 20% reduction when drafting the pattern. Clearly, my 2286s have more than 20% reduction, which shows even more on the front piece.

Front

Again, the front is bigger on my class-drafted pair. And the Hipster line sits a little lower. The leg opening on the front of my class-drafted pair (again, outlined in black) is definitely lower, and that would be something I’d want to change.

Gusset

The class-drafted gusset is shorter and although you can’t tell in the photo, it’s a touch narrower as well. I’d even narrowed the gusset pattern piece on my 2286s.

For my panties, I’m going to use my favorite 2286s like I often use my sloper – to help me get the fit I want. I will change the leg opening on the front, lengthen the gusset a tiny bit, and since I haven’t found my 2286s to be too small at all, I will narrow the class-drafted pattern.

It’s time for new panties! New, drafted-to-my-measurements, incorporating-all-the-aspects-of-my-favorite-pattern, and matching-my-new-bra new panties. These are not just any panties!

panties on table

Oh, I like these. I incorporated the lace application on the legs the same as my 2286s, and did a lace front panel to match my bra.

I wanted to show you a few more details. One of the things I’ve learned making my own panties is the side seam is a weak spot when you’re using lace on the front like this. So, for these panties, I used a 1/2″ strip of knit interfacing to reinforce the seam.

reinforement

As well, having a lace front isn’t quite the same without some elastic. It will often be too loose. So a little bit of lingerie elastic behind the lace is hardly visible, but makes a big difference when you’re wearing them.

Elastic behind the lace

I like everything to look as nice inside as out. I pin my lace out of the way and use my Pinking blade to trim away the excess fabric.

Pinking the edges

There’s only one more thing to add. This is one of the bows I made for my bra.

One more thing to add

Here’s my matching set.

Full set on table 2

 I love them both!

Set on Catherine 3

I loved making self-drafted panties, but that wasn’t all I made. As well as making these panties, I reviewed a pattern.


 Here are the panties I made:

il_570xN.1022408585_jahx

Yes, it’s the Pin-Up Girls Boy Short Collection.

Along with covering Beverly’s newest class, Deb from Sprouting JubeJube and I are both reviewing panty patterns, but not the same pattern. I’m reviewing the Pin-Up Girls Boy Short Collection. Although I know what pattern Deb is making, I’m not going to tell. You’ll have to go to Deb’s blog to see her pattern review and all her makes. She really did make some lovely panties, and we found out we love the same materials. Really. We have the same Cotton Lycra stash. That’s all I’m saying.

Let me show you the Boy Shorts I made.

Front of panty

 They look just like Boy Shorts, but they also looked bigger than what I usually wear.

comparison

And they are bigger. To be totally honest here, they looked HUGE to me!  It’s mostly the different shape. Boy shorts have material over the leg and what I usually wear doesn’t. Oh my! Here they are being compared to my favorite Kwik Sew 2286s. I know what size not to use so my next pair will fit.

The best part of these panties is the back. I made view 4. They really have a super cute back and I will use this feature in the future.

Back lace detail

Isn’t that a lovely detail?

I want to thank Bra-Makers Supply for providing me with the Pin-Up Girls Boy Short Collection, and Craftsy for providing me with the class Sewing Panties Construction & Fit.

14339952_10210984887124239_819227118_o

Tour Schedule Itinerary

Follow the magical tour to see what we all have under our clothes

Canada Cups Logo Draft

Saturday, September 17

bloggers

A big thank you to our wonderful bloggers. They’ve all done such a great job!

Happy creating!

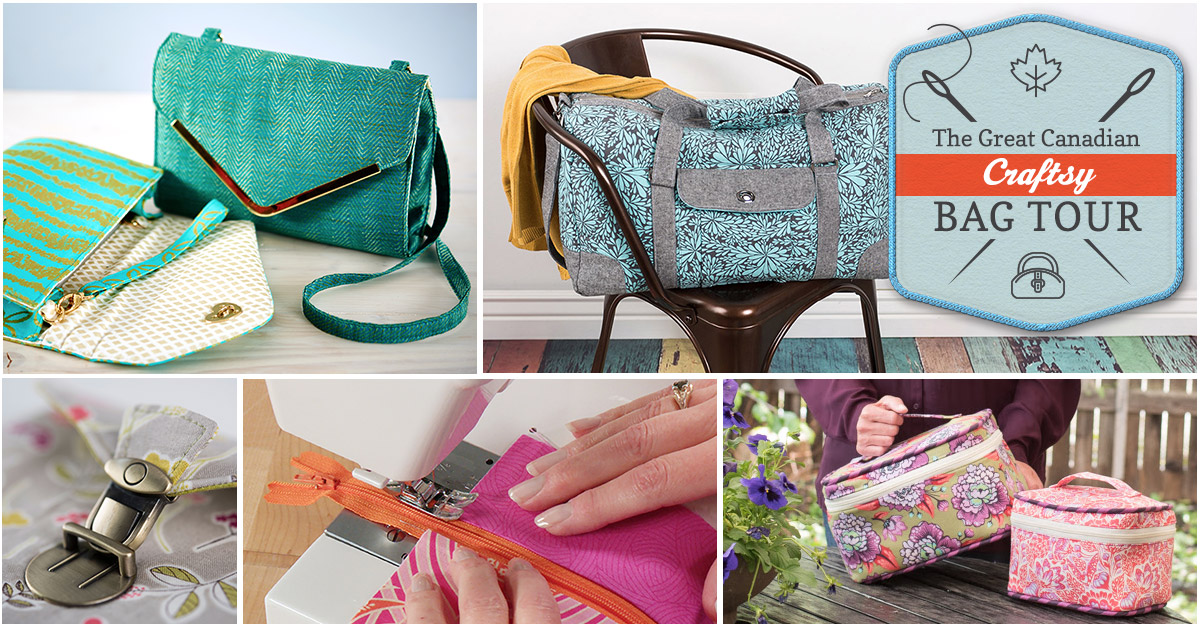
The Great Canadian Craftsy Bag Tour

Craftsy 1200x627_social

Welcome to my stop on The Great Canadian Craftsy Bag Tour! Our tour is made up of Canadian Bloggers, hence the name The Great Canadian… Only in Canada you say? Pity! Well, no, not really. We’re all in Canada, but you can join the tour from anywhere in the world! Sit back and enjoy – no tariffs, no shipping costs, no exchange rates. (Oh, Canadians know about exchange rates!)

Making handbags is something I’d wanted to do for a long time. After hearing of Craftsy, and signing up for my first class with them, I was hooked. I think my first class was Fab Felt Holiday Crafts with Betz White (you’ll see more of Betz on this tour), followed quickly by Design Your Own Handbag with Brett Bara. Brett’s class was the first of many handbag classes I’ve taken on Craftsy. With Craftsy, I’ve found a great learning platform, and I keep going back for more. I love that the classes I purchase are there for me anytime I want to access them, and never expire.

This year I became an Affiliate with Craftsy. On the right side of my blog, you’ll see some links to a few of my favorite classes, including the class I’m reviewing here (which Craftsy very graciously gave me to review for this tour). This list is by no means an exhaustive list, but just a few favorites. I can recommend these classes with confidence as I’ve taken them.

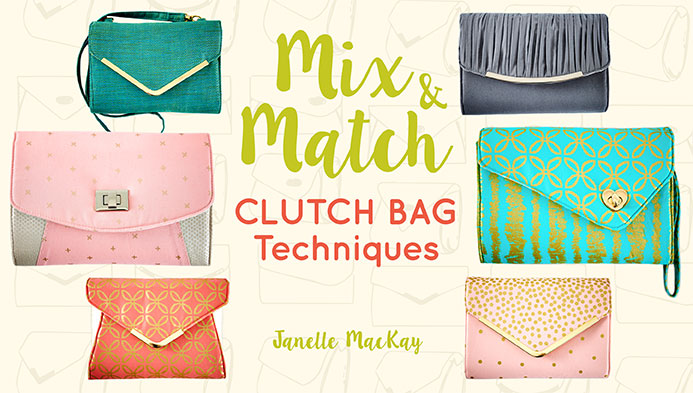
For my part in The Great Canadian Blog Tour, I’m reviewing Janelle MacKay’s class Mix & Match Clutch Bag Techniques.

titleCard

Janelle is a wonderful instructor. She’s very thorough, but without that rushed feeling we can get from having too much information thrown at us. She calmly takes us through each step, all the while giving us so many details of what we need to do, and options to change things up.

Janelle is composed in front of the camera. She definitely knows her material. Her knowledge and warmth come through on the question board too. She’s interacting with participants, telling them she loves the material they’ve chosen, encouraging when someone posts a question and figures out the answer on their own.

The class was a good pace for me. I’m not an overly experienced bag-maker, and I felt very comfortable with the pace of Janelle’s class.

Craftsy rates this class for an Intermediate skill level, and I would agree with that. There are some techniques that aren’t hard, but have a lot of steps that might be a challenge to a beginner sewist. I have read lots of comments on forums where people said how much they learned taking this class, and all the new tips they didn’t know before. There are tips in the class that can be used in any sewing. I loved how Janelle showed us how to deal with thread ends, and how she attached zippers. Both of these, and many more of the tips she shares can be transferred to non-bag-making sewing projects too.

The only difficulty I had with the class was having to draw out some of the pattern pieces. I need all the pattern pieces – even the ones that are simply a rectangle with the measurements given. I have some trouble with numbers. So for me, to have to draw out a rectangle piece… well, it’s a challenge. I have to look at the numbers, check them again, and then again to make sure I have them right in my head. Then a few more times because they can easily get mixed up in my head. It took me three tries to get those simple rectangles. I’m not talking just getting the numbers right, I’m talking drawing out those pieces. (Sigh) Now to be fair, I’ve read many comments on some of those same forums where others have said they hate to see something so simple included in patterns. For me, this is not so simple. I did get it done, and now going forward, I have all my pattern pieces cut out and labeled so I won’t have the same trouble.

Reece, of Happy Okapi, just reviewed the class Sew Sturdy Travel Organizers. One of the comments from Reece was there were no pattern pieces included with that class. Right away, I know it won’t be a class I want to take. Drawing out all the pieces would put me off before I started.

Back to things I love about this class. Here’s my clutch bag:

purse on cutting board

Oh, pretty, pretty. The inside of the bag is as beautiful as the outside. There’s a card slot that holds three cards, and a deeper pocket behind it. There’s a lipstick holder. There’s also a beautifully finished zippered pocket.

inside empty

Here’s the inside with a few basics in it. Sunglasses, keys, a few credit cards, lipstick. The red card is in sideways to show the deeper pocket behind the card slots. I didn’t even need to put anything in the zippered pocket. There’s lots of room in this little clutch! Look how pretty the zippered pocket is too. Janelle takes us through all the steps to make a beautiful, professional-looking finish on everything – inside and out. Here’s a confession: I thought the inside of the bag was so pretty, I took photos to send to a few friends before the bag was done. It looked so nice.

inside purse

pocket

Here’s the clutch on my dress form (Catherine) so you can see the size.

purse on Catherine

It’s a beautiful size and shape. For my first clutch, I chose a fairly basic design. If you look at the Craftsy image for Janelle’s class (above), you can see there are a few different options for the front of the bag, and for the flap. The variety offered is very nice.

One more comment on this clutch bag – I followed the Craftsy course alone to make this. I did use the pattern pieces that came with the instructions, but the class is so very thorough, a bag can be made following along with class instruction alone. It’s a really great class. I definitely recommend Mix & Match: Clutch Bag Techniques by Janelle MacKay, and I can’t wait to make another clutch bag.

Thanks for joining me on this stop of The Great Canadian Craftsy Bag Tour. The next stop is: 20 Essential Techniques for Better Bags with Fiona of Tangled Blossoms Design. If you’ve missed any of the reviews or stops along the tour, here’s the full listing of them:

Tour Dates

Monday, April 4

Seam of my PantsBag-Making Basics: Reversible Tote & Zipper Pouch with Kristin Link and Learn to Sew: Simple Bags with Nicole Vasbinder

Tuesday, April 5

Sprouting JubeJubeSew Sturdy: Home Organizers with Annie Unrein

Lulu & CelesteSewing With Oilcloth: Bags & Baskets with Kathy McGee

Wednesday, April 6

Happy OkapiSew Sturdy Travel Organizers with Annie Unrein

Thursday, April 7

Michelle’s CreationsMix & Match: Clutch Bag Techniques with Janelle MacKay

Friday, April 8

Shelaine’s DesignsSew Better Bags: The Weekend Duffel with Betz White

Tangled Blossom Designs20 Essential Techniques for Better Bags with Lisa Lam

Saturday, April 9

Emmaline Bags — Recap/Roundup

Sunday, April 10

Sur “prizes

Our tour has some amazing sponsors! Craftsy. Emmaline Bags. (Emmaline Bags donated the hardware for my gorgeous clutch) Tangled Blossoms Design. Blue Calla. Sprouting Jube Jube. Lulu & Celeste. Happy Okapi. Seam of my Pants. Thanks to all of our sponsors for generously providing prizes for the tour. You’ll have to wait until Sunday, April 10th to find out more about those. So make sure you come back on Sunday to find out what they are and how you can enter for your chance to win!

Prize Sponsors

Happy creating!

Please note, all contest links have been disabled as the contest is now over.


Announcing The Great Canadian Craftsy Bag Tour

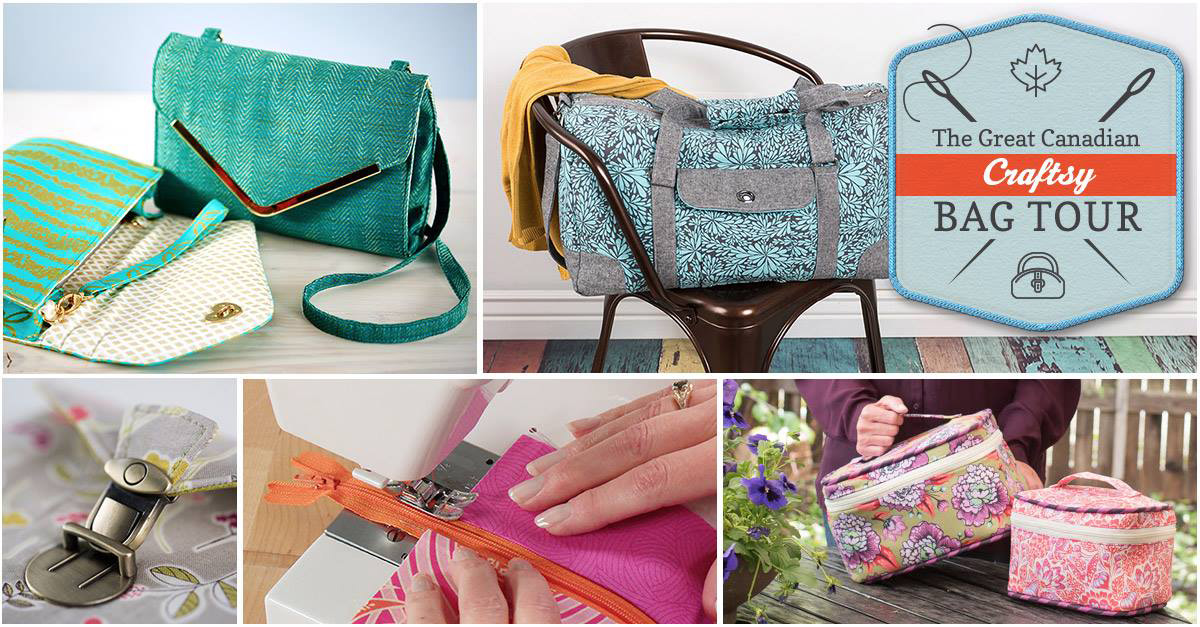
Craftsy bag tour image b

The Great Canadian Craftsy Bag Tour starts today! Just what is the GCCBT? To sum it up, we’re all Canadian bloggers, we all sew, we all love Craftsy, we all reviewed some of the bag-making classes on Craftsy, and we put it all together for you to read over the next week.

The whole time the tour was being put together, I keep remembering an old television ad for Red Rose Tea: “Only in Canada you say? Pity.” Well, the bloggers all may be in Canada, but you can read along from anywhere in the world with no duties, tariffs, or shipping costs.

Head over to Emmaline Bags to start the tour today. And join us every day for the next week on our tour. It’s going to be fun, informative, there are prizes, and discounts too!

Happy creating!