It was my turn to sew up something with my very special kit!
I decided I would stick to what was in the kit. Often, I open a kit and inspiration will strike and off I go. However, I fell in love with the bra shown on the website, so wanted to do my best to create something that looked a lot like it.
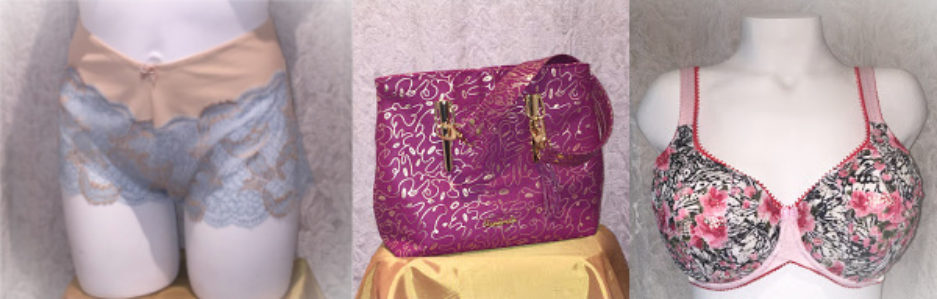
 Isn’t this so pretty? Yes. I wanted a bra like this.
I decided to make another PUG Freja. I really do like that pattern and it’s shape and design.
However, the upper cup was a little bit too long for me. It was time for me to adjust my pattern and sew up a very pretty Freja.  This lace! It’s so pretty.
Yes, the newest alteration worked out well. I was a bit nervous as I’d never adjusted an upper cup like this, but I trusted the process of shortening it and it worked.

If you’re wondering how I shortened the upper cup. I put the side pattern piece and the lace pattern piece together along their seam lines, and drew a line across them. I measured 1/4-inch and drew another line. I cut on the bottom line and taped the pattern pieces back on the upper line. I removed 1/4-inch from the upper cup.
After that I just had to ‘neaten’ the design lines up again.
 I love the sheerness of this. The original used sheer cup lining under the lace. But I had used some of my lace for Em’s bra. I couldn’t recreated it exactly. As well, I am using a different pattern.
 Overall, I’m very happy with my new Freja, but…
I made a mistake, and it wasn’t with the adjustment I made. No. I made a different mistake.
Let me show you.  Do you see it?
I forgot to sew on the upper cup elastic. I tried on my lovely new Freja thinking about how the new adjustment would make it fit. And my upper cups were all floppy! “What? What was wrong with my bra? How did taking 1/4-inch out make the upper cup floppy?”
Back to the sewing machine to fix this.
Happy creating!

Thank you for your very informative explanations of the corrections.
Looking forward to the next iteration.
Harlean
You’re welcome Harlean! I thought I should include this alteration as it’s a little different than most other ones.
“I love the sheerness of this. The original used sheer cup lining under the lace. But I had used some of my lace for Em’s bra. I couldn’t recreated it exactly. As well, I am using a different pattern.”
What do you mean by that? What could you not recreate? Which original? And what’s the problem about using a different pattern?
The original bra was the one I saw on B,Wear’s site. She used a different pattern, as well, she had used lace and sheer cup lining for the frame/cradle of the bra. I only used sheer cup lining. Because I used some of the lace for Em’s bra, I didn’t have enough to do that. There was no problem making a different pattern – just the problem of not having enough lace to make my bra frame with the lace.
Ahh, I see. Well I think the sheer cup lining with the elastic shining through looks great, as well. It’s something you can see on a lot of RTW bras as well.
I’m definitely looking towards the bra in your new header picture, too.
Thank you, May. Yes, I like the sheerness too, and I’ve seen it a lot in RTW. Oh, I couldn’t resist using that bra for my header. It’s coming very soon.