I have a class coming up at Central Sewing at the beginning of May. I’m making a new pattern, so needed to sew up new fitting bras.
I decided to use up all the bits in my stash to do this. We’ll see if I have enough. I’m not done yet.  I started with the smaller sizes, equivalent to the size 2s. These little bras have a bit of everything. I decided along with using up my stash, I would use up whatever threads and bobbins I had – just to make the job go more quickly.
I really have to say it was quite fun and very freeing to just grab a thread, or a bobbin and not worry about matching anything. I don’t think I’d do it for a bra I want to wear, but it’s been fun to do it for these fitting bras.
Next were the equivalent to size 3s. And again, just what I had in my stash.  A friend was asking about them and called them Frankenbras when she heard they were all different colors.
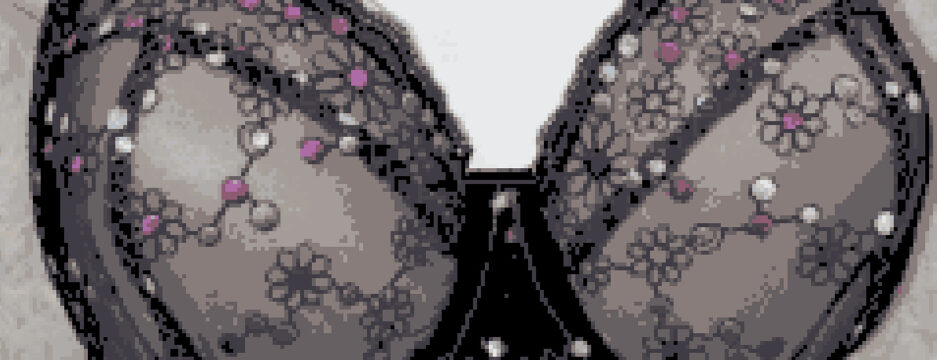
Here are the size equivalents to the 4s.  These look better, don’t they? All nice and the same color.
That is until you see the back!  Still, they’re perfectly functional, and I don’t have quite so many bits to store now. All the more reason to buy some more fun things!
Lastly, I thought I’d show you how I organize to sew multiple bras at one time. I’m sewing these all in size sets. So for the most part, I’m sewing four bras at a time.
These are the equivalents to the size 5s.
I print off all the pattern pieces in that size, cut them out and keep each one in a pile. They are also labeled.  For each bra, I will sew one thing at a time. So I sew one set up bottom cups together, put it back with the pattern pieces. Pick up the next one and do the same. So all the sewing will be done with the same stitch, either all a straight stitch, or all a zigzag.
It’s much quicker to do it this way, than to sew one bra completely and then sew another one. I’ve all used this approach to sewing for myself say for two black bras, or two pink bras. You get the idea.
Back to sewing for me! Happy creating!


 Do you see where the cup joins the side seam? There isn’t a dart in the cup. There are no gatherings along the wire line. No, this cup is simply designed to fit into this size cradle.
 I promised to tell you something else about the side of this bra. Do you see where that red line is? That’s where my wire ends. Normally, if the side of the bra was raised up this much higher than the wire, the side seam would be flopping over. Not here.
 This is actually two different sized cups. I was testing to see which I preferred.
 Have you made a fitting band? I’m already planning to test some other cups in this. I’m also planning to go through Porcelynne’s Eve Sloper Creation course to change the shape of these cups. The volume is perfect – and I cant’ wait to share more on that with you.
  There was a Fitting binder, and a bra and finding kit in my bag (not shown). As well as the great canvas tote. For students who hadn’t taken the Drafting course, they got a few more goodies like sample packs of Duoplex and Power Net, as well as a set of Pin-Up Girls patterns. I had all those already.
 On Day Two we were starting to learn what changes to make for different alterations – all using those little tiny bra pattern pieces. It was really great to have these, and to have them to keep as a reference.
 You can see here in this example, it wasn’t a complicated adjustment – just lengthening the band. Having the samples makes it much neater to look and see any of the adjustments – much better than me freehand drawing these examples.
 Overall, I have to say it was a great class, and gave us all some fabulous tools to take and use going forward.
 The size is prominent on the upper cups. However, I also thought it would be a good idea to write the wire size and the bottom cup depth as well.
 Number four is half sewn, so only 18 1/2 left to sew up.
 I did like that little rosebud eye, but decided I wanted more pop for the eye, and nose. I thought it would look better if it didn’t blend in so much. As well, that large flower on the face just wasn’t sitting right with me.
 This was better. Although there’s a lot more pop for the eye, I thought it was too much. And I still wasn’t happy with the face.
 In fact, I was happy with it at this point and ironed everything down.