A Black Plunge with Butterfly Effect

I must say, I was inspired recently after reading Madalynne’s blog where she planned to do a bra-making marathon. (Way to go, Madalynne!)  I was inspired and thought I’d see what I could do too.

So bright and early Saturday morning, I cut out 2 bras. One in black with some gorgeous black and pink lace. The second bra is a beige, with a pretty beige and tan lace. Both sets are from Bra Makers Supply. I was off to a good start. Then reality began to impinge on my plans. I had laundry to catch up on, and my dear hubby and son arrived home after a 4-day camping trip. But I did make some progress.

The black bra was the first one I worked on. And it was coming together very well. Until I hit a bump. Perhaps because there was so much activity happening around me that wasn’t usual activity, whatever the reason I made a faux pas after attaching the upper band elastic to the outside of the strap. I didn’t notice it either. It wasn’t until I had turned the strap over and was trimming the excess, and had a brief thought as my scissors snipped the material, ‘that looks folded’. SNIP.

I’m not sure how I folded excess material under the elastic, but I did. And then I cut it! Ouch. Well, I know me too well; I’d never accept that. I knew I wouldn’t wear it if it had a flaw. So, out came my trusty seam ripper, and I carefully started removing all the stitches from the strap. First, I removed all the stitches from the elastic I’d just sewn on. That wasn’t too bad. That was just a zigzag. But the side with the trim on it had both zigzag and 3-step zigzag stitches that had to come out.

I got it all done, and attached a new strap. I re-sewed all the elastic and trim to the outside of the strap, and then carefully turned it and matched it up and sewed the 3-step zigzag. And it looks good. Whew.

Okay, enough drama. Here’s my black plunge with a Butterfly Effect.

100_2317

I think the Butterfly Effect is more pronounced when the style isn’t a Plunge style, but I’m still very happy with it. It’s a very pretty way to add some lace to a bra. And I do like lace.

100_2316

Here’s a closer view of the Butterfly Effect. You can also see the foam cups I have behind the cups. The way a Butterfly Effect is done is a bit unusual. You start to sew the cups together, stop, add the lace, and then finish sewing the cups together. This effect is shown and explained in detail in the Bra Makers Manual.

The little pink bows that match the pink so perfectly were from the Bra Maker’s teacher I had here one weekend. (I’ve had the lace in my stash that long.) She had a big bag of bows and I think I might have drooled when I saw it. She let me match up a few bows to lace I had. Thanks, Jane.

100_2312

Isn’t that adorable? I took the picture before I had sewn the bows on.  They’re just pinned on at this point. But what a great color match.

100_2313

Now on this one, there are two pins. One is holding the bow in place for where it will go. the red-headed pin is to make sure I remembered, once the bra was all sewn, which strap I’d messed up. Looking at this, I’m really pleased with how well I repaired this faux pas.

100_2315

And the back of my newest plunge bra. I may tweak this back a bit and bring the shoulder straps in a bit. They’re not falling off my shoulders, but they do look quite far apart when I look at the back. Something for me to think about.

And that second bra I cut out? Well, it’s all cut out and sitting on my desk just waiting for me to have a few hours to myself to begin it.

100_2309

The good news is, it will wait.

Happy creating!

A Little of This, A Little of That

That about describes what I’ve been up to; Doing a little of this, and a little of that.

One thing I did this week that I’m so pleased with is a re-vamping of a couple of sundresses I made last summer. When I first made them, they were so easy. I bought the material with the smocking already done. I sewed them up and added some straps and hardly wore them! So much for so easy.

Last week I was reading in Andrea’s blog: Satin Bird Designs how she had remade a dress into a Maxi skirt. And I knew right away what I wanted to do with those sundresses!

Pink Skirt

Here’s the first one. Much more versatile than a sundress. I’ve worn it twice this week already!

I didn’t do much to remake it. I counted how many lines of smocking I wanted for the waist band, and cut it off in-between those lines. It was a bit funny when I was doing that because they weren’t perfectly lined up. I was wondering if I’d been drunk when I first sewed it. Then I remember a couple of things: One, I don’t drink. And two, the top was what I’d matched up evenly. So the material may have had a defect in it.

However, as Madalynne so recently wrote on her blog quoting from Norma’s book: “The only reason to tear out top stitching is if… it looks bad from 3 feet away.” So, my issue isn’t top stitching, but taking the heart of the message – I don’t think anyone is going to come up and start examining those rows of smocking and notice they’re not straight. Mind you, some of my friends may do that now. (smile)

And here’s the second skirt, which hasn’t been washed yet so is still a little stretched out in the waist band:

Black Skirt

To finish both skirts, all I needed to do was finish that new edge I’d cut. They were already seamed from last year. I didn’t want to change the look on them, so did a lettuce-edge with a small zigzag to cover the loose edges and keep them from fringing in the wash.

I did buy a couple of pair of pants this week that I’m going to cut off and make into Capri pants. The price was just too good to pass on.

My bra is still 3/4s of the way done and sitting on the dinning room table. I decided just as I was putting on the upper band elastic that I was going to change the bra. So no fabric straps on this one – this one is going to have strap tape & strap elastic for the straps – more similar to what I saw in the boutique. I’m just waiting on an order now from Bra-Makers to finish it up. This one is with a custom bridge from Norma’s book.

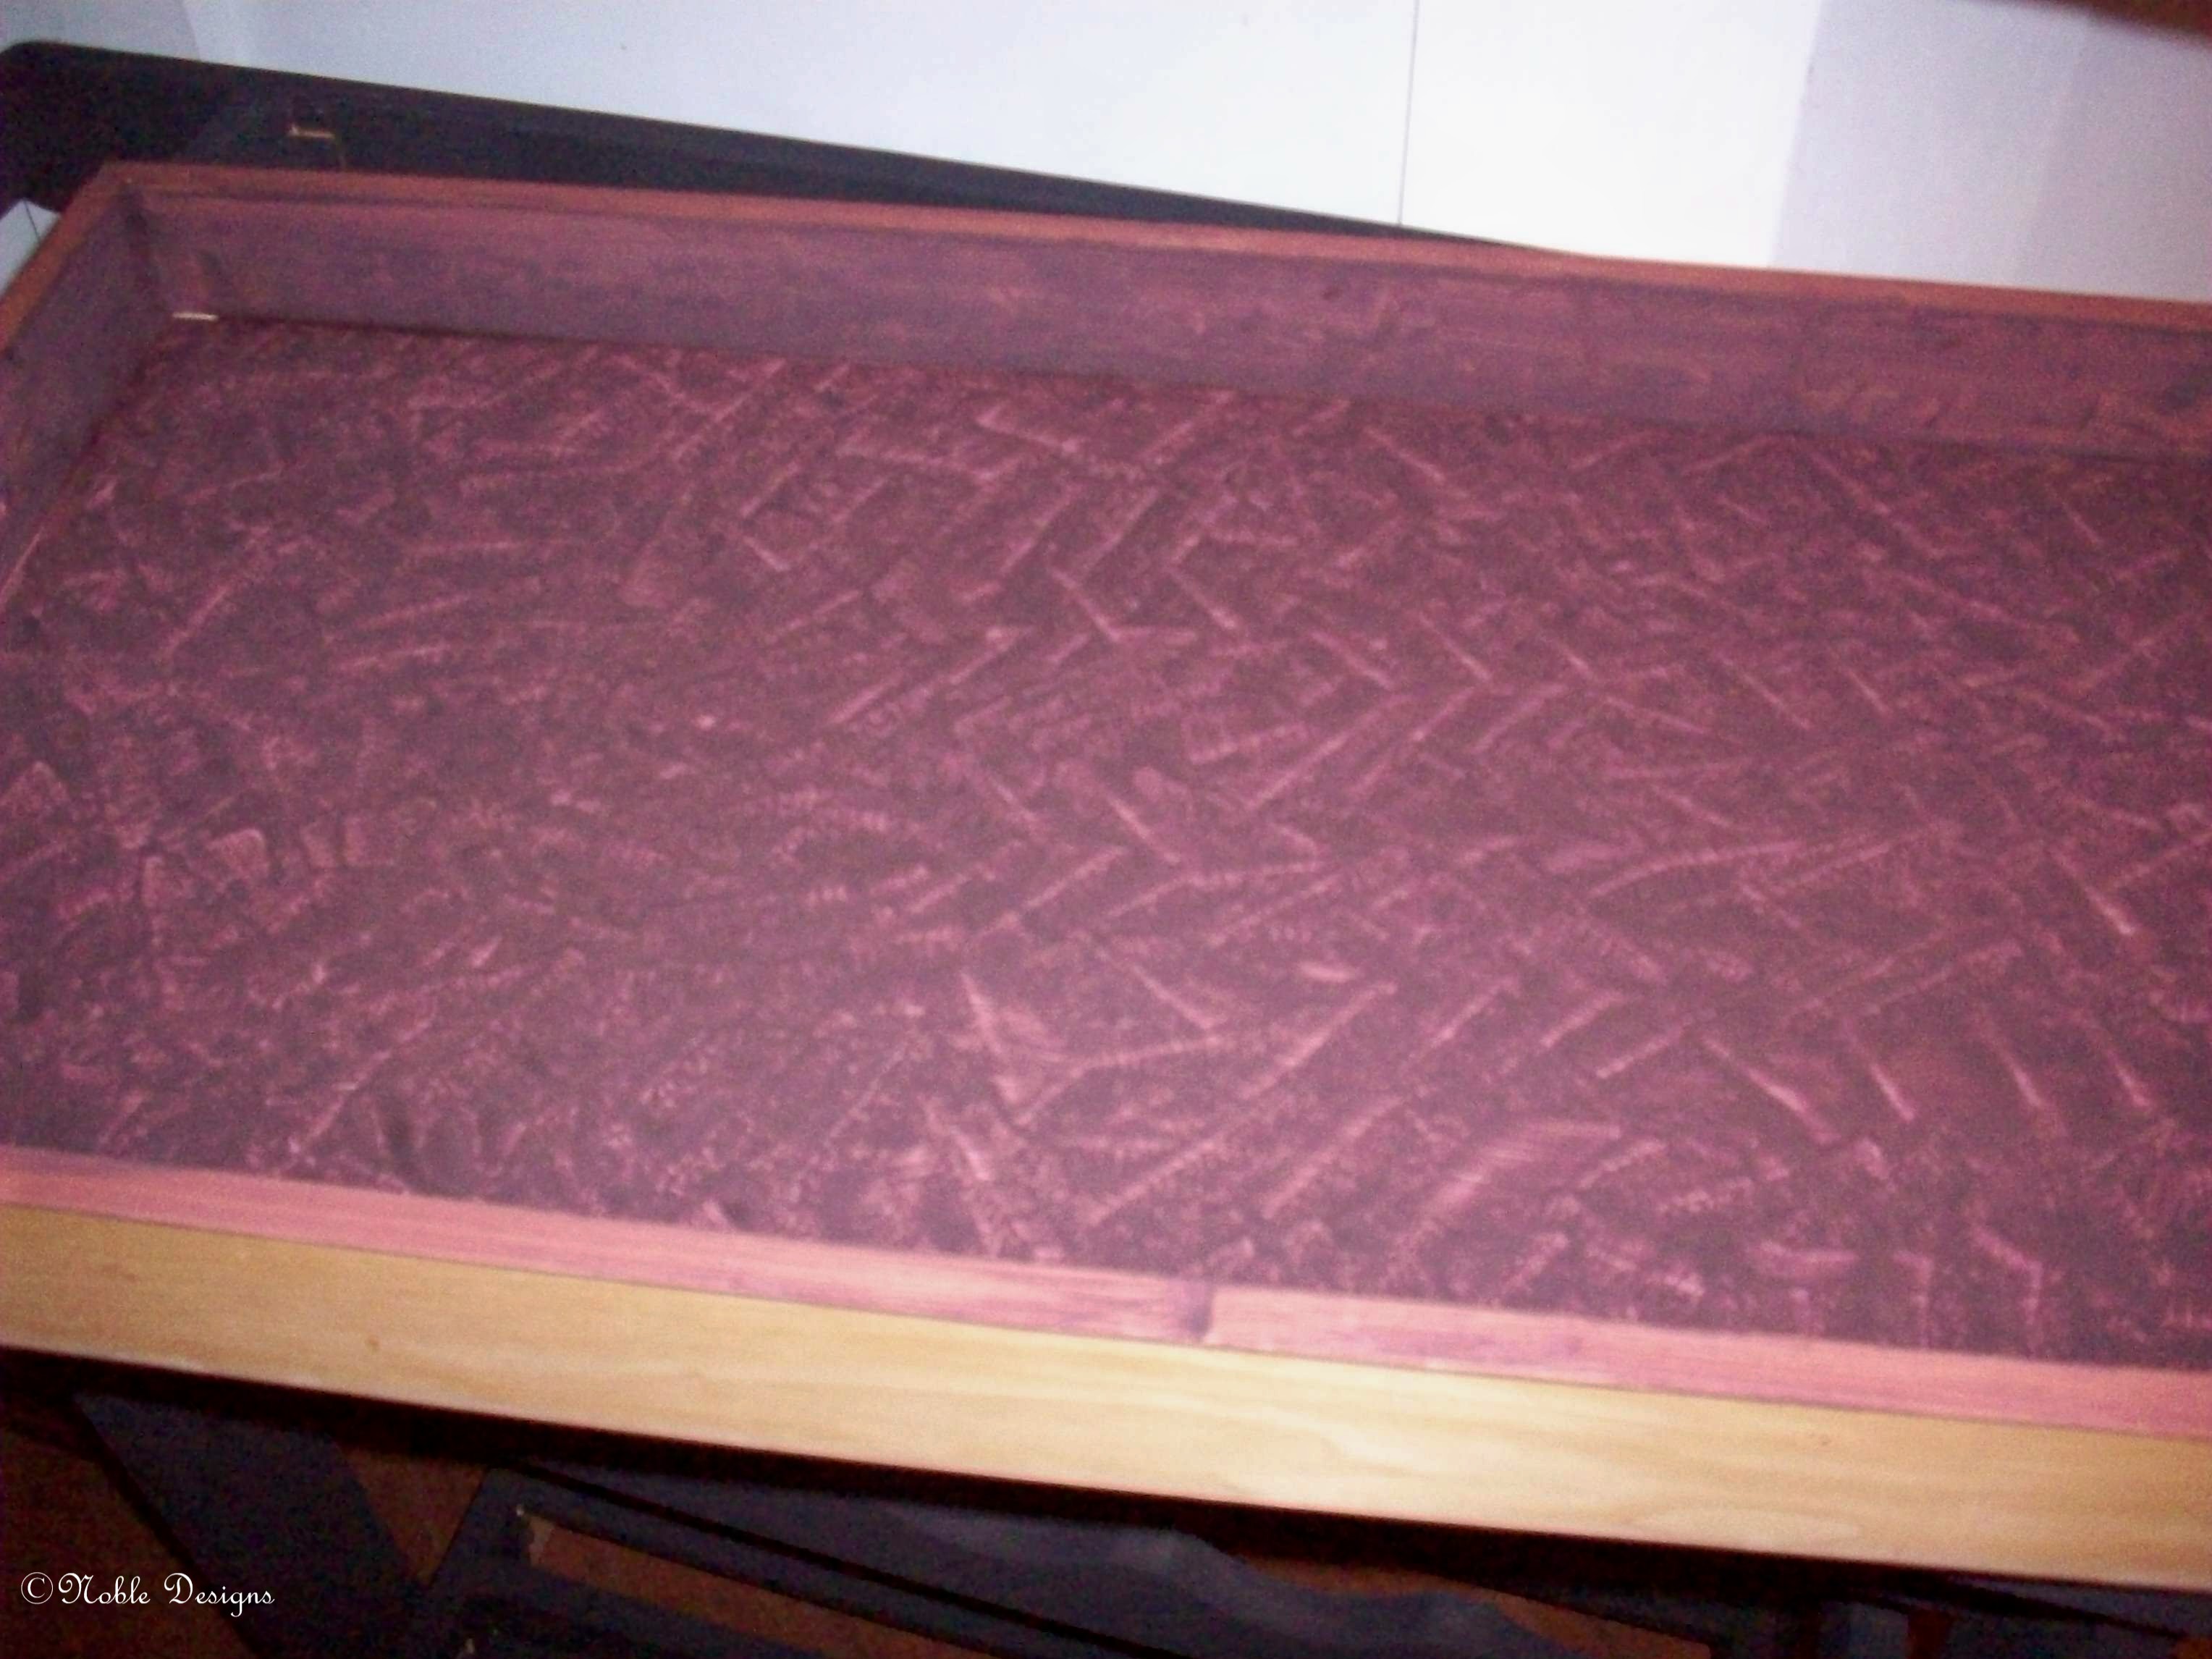
And lastly, my final bit of this and that. I painted the inside of the tray this morning.

Wine Cart Tray

Wine Cart Tray

This is only one coat with a stippled effect. I may use some black over the top of it. I’m going to used the Midnight color on the outside of the tray.

Happy creating!

And This Time With Seam Allowances?

I enjoy reading news online, and usually check what’s new before I read my emails in the morning. One morning there was a video saying what NOT to buy your girlfriend for Valentine’s Day. That got my attention, and I figured it was going to be something to do with lingerie.

And it did have to do with lingerie. Basically, men were being told not to buy bras for their girlfriends because bras were hard to fit. I had no problem with that – that is very true. However, it was the next part that really surprised me and stayed with me.

After telling men not to buy bras for their girlfriends, the video went on to offer help in bra sizing. Here’s their help: The Fruit Rule. If she’s the size of a couple of lemons, then she’s an A cup; the size of a couple of oranges, she’s a B cup; two grapefruits? she’s a C cup. And to finish it off nicely, if she’s the size of two cantaloupes she’s a D cup. Isn’t that nice and neat? I can’t speak for all women, but I don’t fit into that fruit salad.

Enough about fruit comparisons, I’m going to share a little more of my progress with my ‘adjusted’ Shelley pattern.

I’ve been mulling over my Shelley without seam allowances for a while now. I did add seam allowances and then got thinking about whether that was what I needed or not.

I made a tester bra to see how it fit with seem allowances and it just wasn’t giving me the fit I wanted. My dh says I’m trying to get a perfect fit, and I say,  ‘Yes, I do want a perfect fit.’

Without the seam allowances added, it fit perfectly into the cradle size I need. Without seam allowances the lower cup fit like a dream – something I’m struggling to achieve. However, without seam allowances, the upper cup was too small. I need more depth to get the bridge to sit against the chest wall, and a little more coverage up top too. I was torn between adding seam allowances and/or redrafting the upper cup somehow.

I decided to add a seam where there isn’t one – I added the amount of a seam allowance to the top of the upper cup, and also changed the pattern so I had the depth I need to bring the bridge back. It all worked. This one got a bow even, or as another blogger put it – it was bow-worthy.

Shelley front view

Here’s my latest Shelley from the front. I used the black forms I’d made and shown a few posts ago. They don’t fill the cups out completely, but I think they fit better than the foam cups did.

I love the lace and duoplex combination on this. The lace was from Merckwaerdigh’s store on eBay. The duoplex and findings are from Bra Makers Supply.

To help the upper cups fit a little better, I didn’t line them this time. On my first Shelley I did line the upper cups. Since I need a little more give there, no lining this time around. And that helped too.

Shelley side view

I have to say, I LOVE how neatly the cups are fitting into the cradle. I am so very pleased with how this has turned out. I didn’t like the look of the ‘easing’. I had to do so much easing along the lower cup, it looked more like gathering to me. And it gave the cups a balloon-like shape. This is much better.

Shelley back view

And a basic back. Looking at it, the straps seem a bit far apart, but I didn’t notice that when I put it on. Something to think about tweaking for my next time.

I got my ‘real’ Shelley pattern in the mail today. Tomorrow I’ll have some time to pull it out and compare all the pieces to what I’ve made from the Pin-Up Girls Classic pattern and CD Designer Bras by YOU! I have to say, I loved learning how to make this, but it will be a treat to have the pattern too.

My next project may be to help out a friend. She recently went to a specialty store and was fitted only to find out they don’t carry anything in her size – too small around the rib cage. After dealing with the fitting challenges of the Omega shape, a small band almost sounds simple. I’ll post what we do, and how it turns out.

Oh, and my dh is also requesting matching panties, so that may be in the near future too. Two other bloggers have just offered free patterns, and I’m planning on trying both of their patterns.

http://www.madalynne.com/

http://www.fehrtrade.com/article/676/free-lacey-thong-panty-pattern

Happy creating!