Another class I took this Spring was the Cut and Sew Foam bra class at Central Sewing, again with Jeanette of Sew Uplifting.
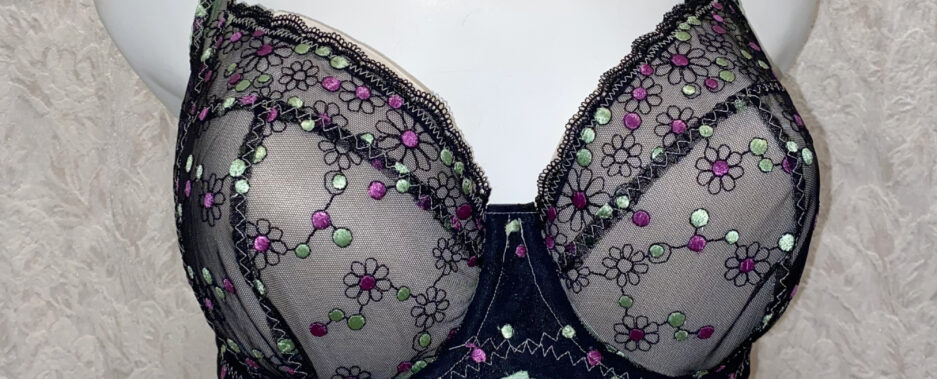
In this class Jeanette was teaching us cut and sew foam drafting and construction techniques with our personal fitted bra pattern. Most of the class sewed a foam bra from our drafted patterns. We all also received the Ruby bra pattern.  Jeanette brought in her own sample foam bra, and we all had to inspect every detail of the bra. One detail I noticed was she used jewelry findings for the rings on the front. I loved that detail!
 The fabric on this is so pretty.
Pattern Problems
I have to say, I really didn’t enjoy the first day of our class. My drafted pattern, which fits, wasn’t converting to a foam pattern easily.
Here’s my drafted bra. This fits me perfectly. To make the pattern work for foam, all we had to do was cut off some of the seam allowances. I did that. I did that three times.
Each time I did it, I kept getting the same result. I was shorter along the cross cup seam on the top than on the bottom. My pattern pieces were not fitting together. Jeanette looked at my pattern pieces, and she tried to make them work. She couldn’t figure out what was wrong with those pieces either. For whatever reason, those pattern pieces would not line up.
It was so frustrating. I was using my original pattern, and had transferred all the markings from it. I cut off the correct seams. It should have worked, but it didn’t. It was out by a 1/2-inch!
So, I finally decided I’d just add that 1/2″ difference at the underarm side, and hope for the best.
My Foam Bra
We used a lovely scuba for the foam bras, and they were all so pretty. Here’s mine. I’ve used the red and black floral scuba with all red findings, including red foam on the inside.
Here’s the side view, showing more of the red.  One small disappointment was my band turned out to be too big. It’s not fitting well on the display either.
 Looking at it when I was sewing it, I thought it might be, so I just have the hook and eye tacked on here. I’ll take that off and trim off a bit from each side. After I measure and compare to a well-fitting band, of course.
Class Details
One of the very pretty features we learned in our class was to do a rolled edge on our bras. Isn’t that a neat and pretty neckline finish? Below you can see it from the inside of the cup.
 We also learned how to stabilize our strap elastics to give better support.
  We’ve sewn non-stretch seam tape to the inside of our straps at the front. It’s nice and soft, and helps keep those elastics from stretching.
My Adjustment
You can see here in the photo below how I added that 1/2″ to my foam upper cup. Have you been wondering how that adjustment turned out?
Well, let me just say I had two choices – I could have made it a little longer, or I could have made it a little shorter. My logic was shorter wouldn’t be better because it could end up too small.
And the results? My bra is 1/2″ too big at the underarm.
Sigh.
The good news is the bra is still wearable, and I’ve adjusted my foam pattern to account for that 1/2″ extra at the underarm. Why it wasn’t all lining up, I’m not sure I’ll ever know, but the pattern has been corrected and is good for my next bra now.
Happy creating!
